How To - Twice Exposed Roll of 35mm Film
How To - Twice Exposed Roll of 35mm Film
March 19, 2020, 4:36 p.m.
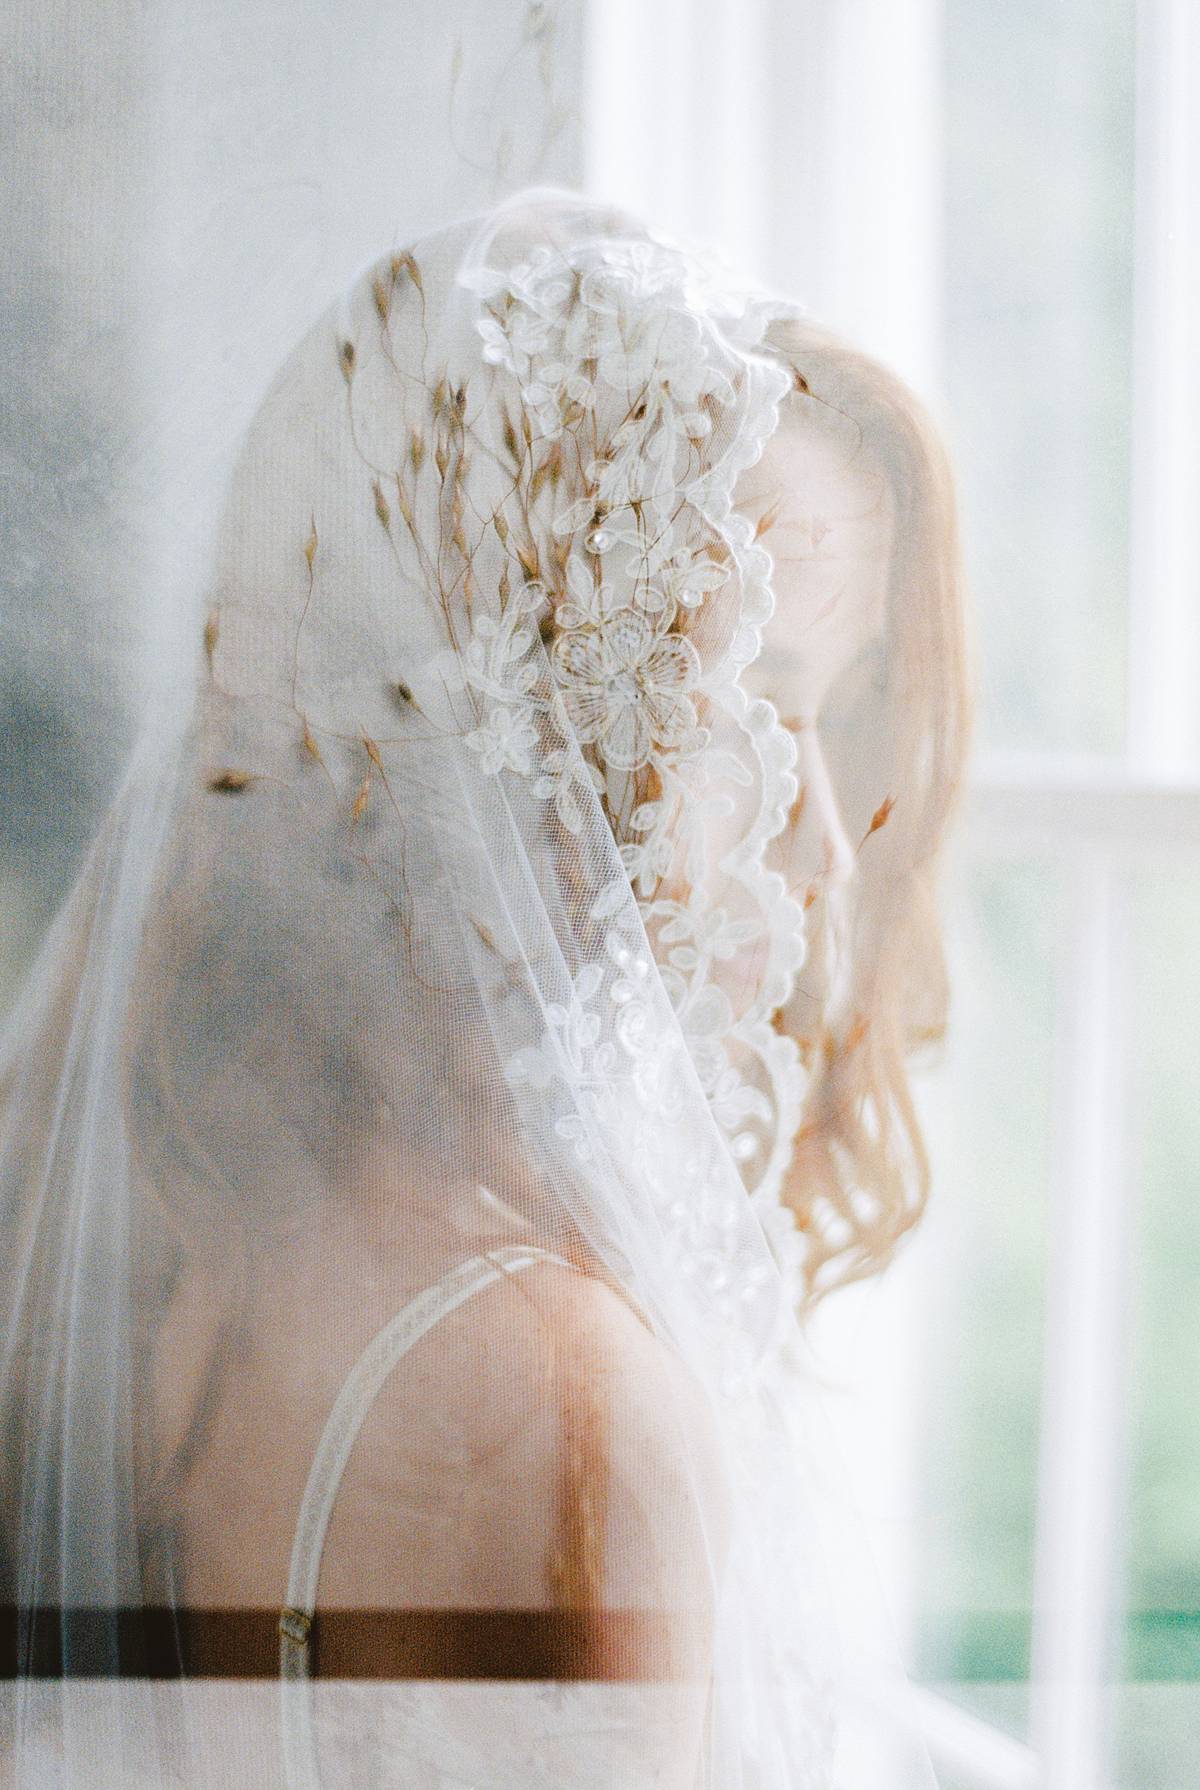
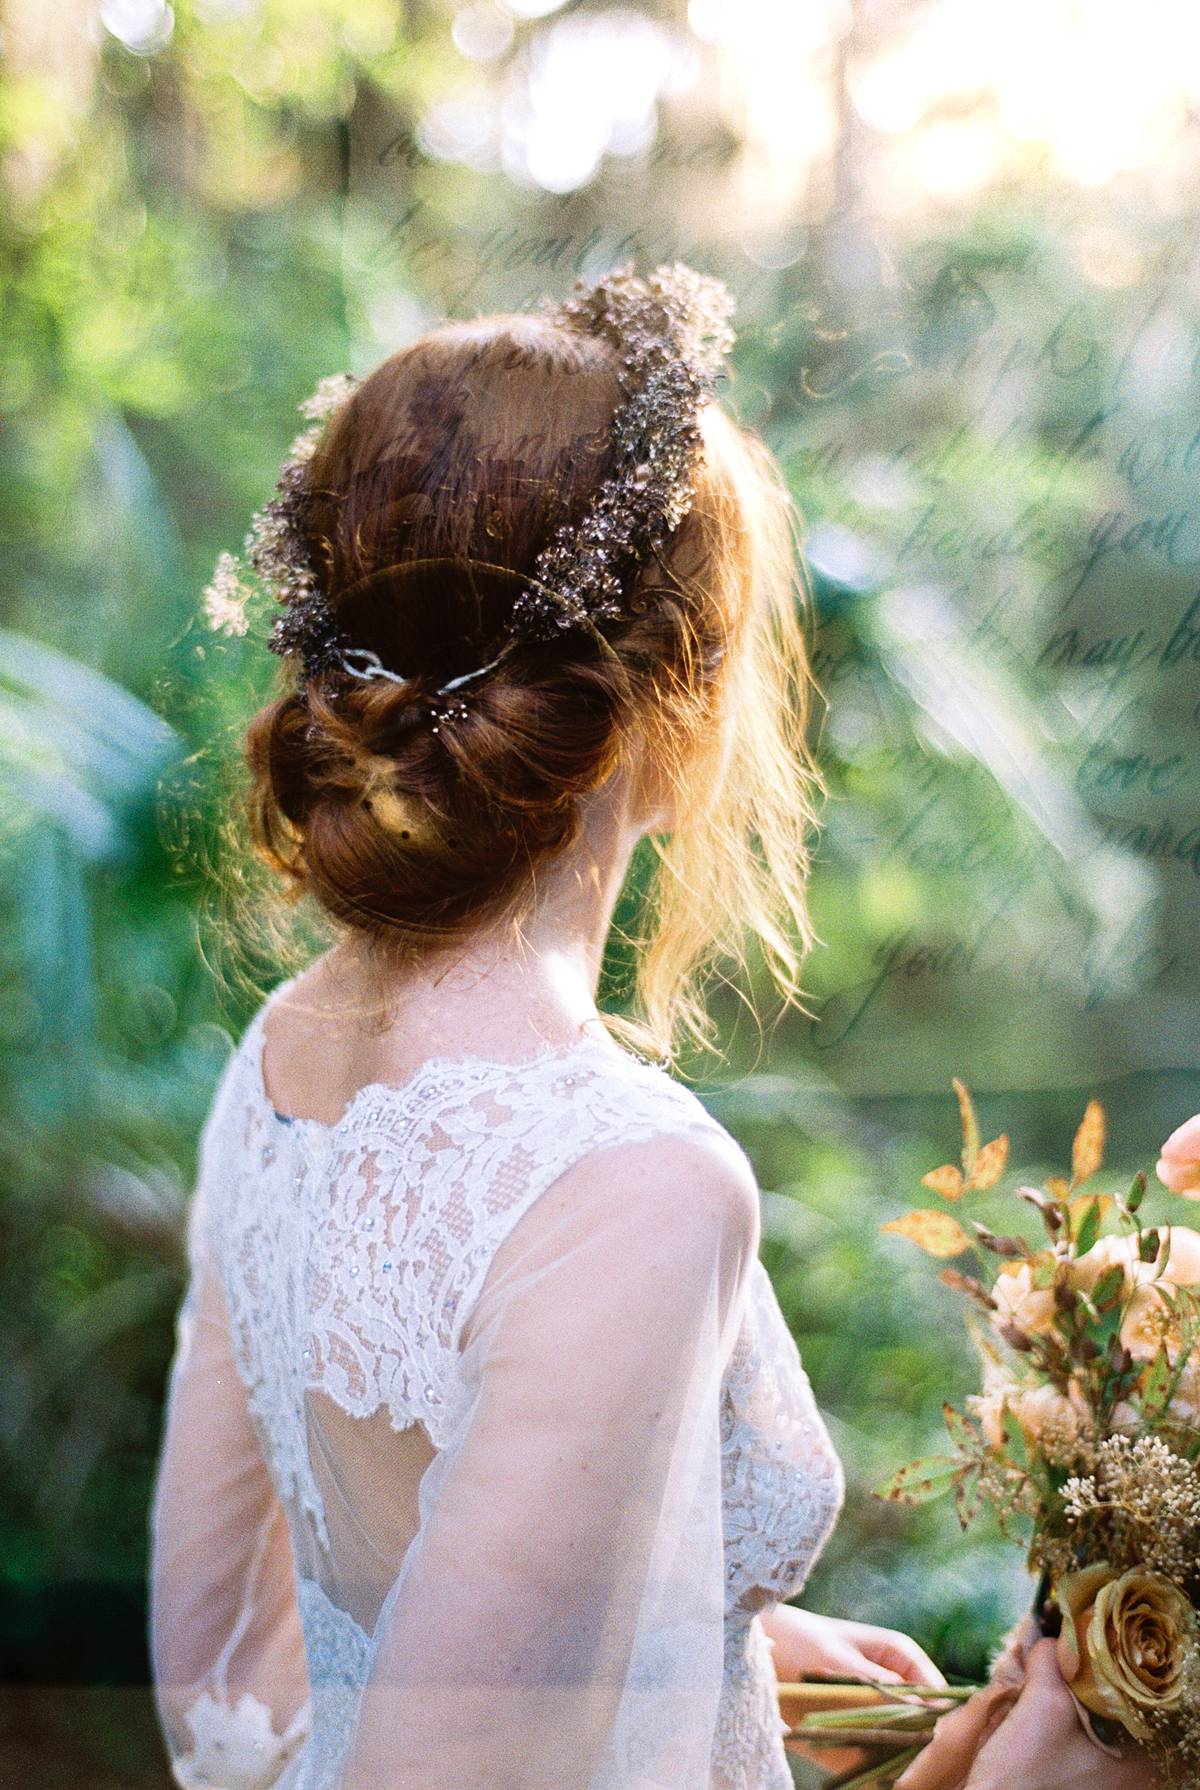
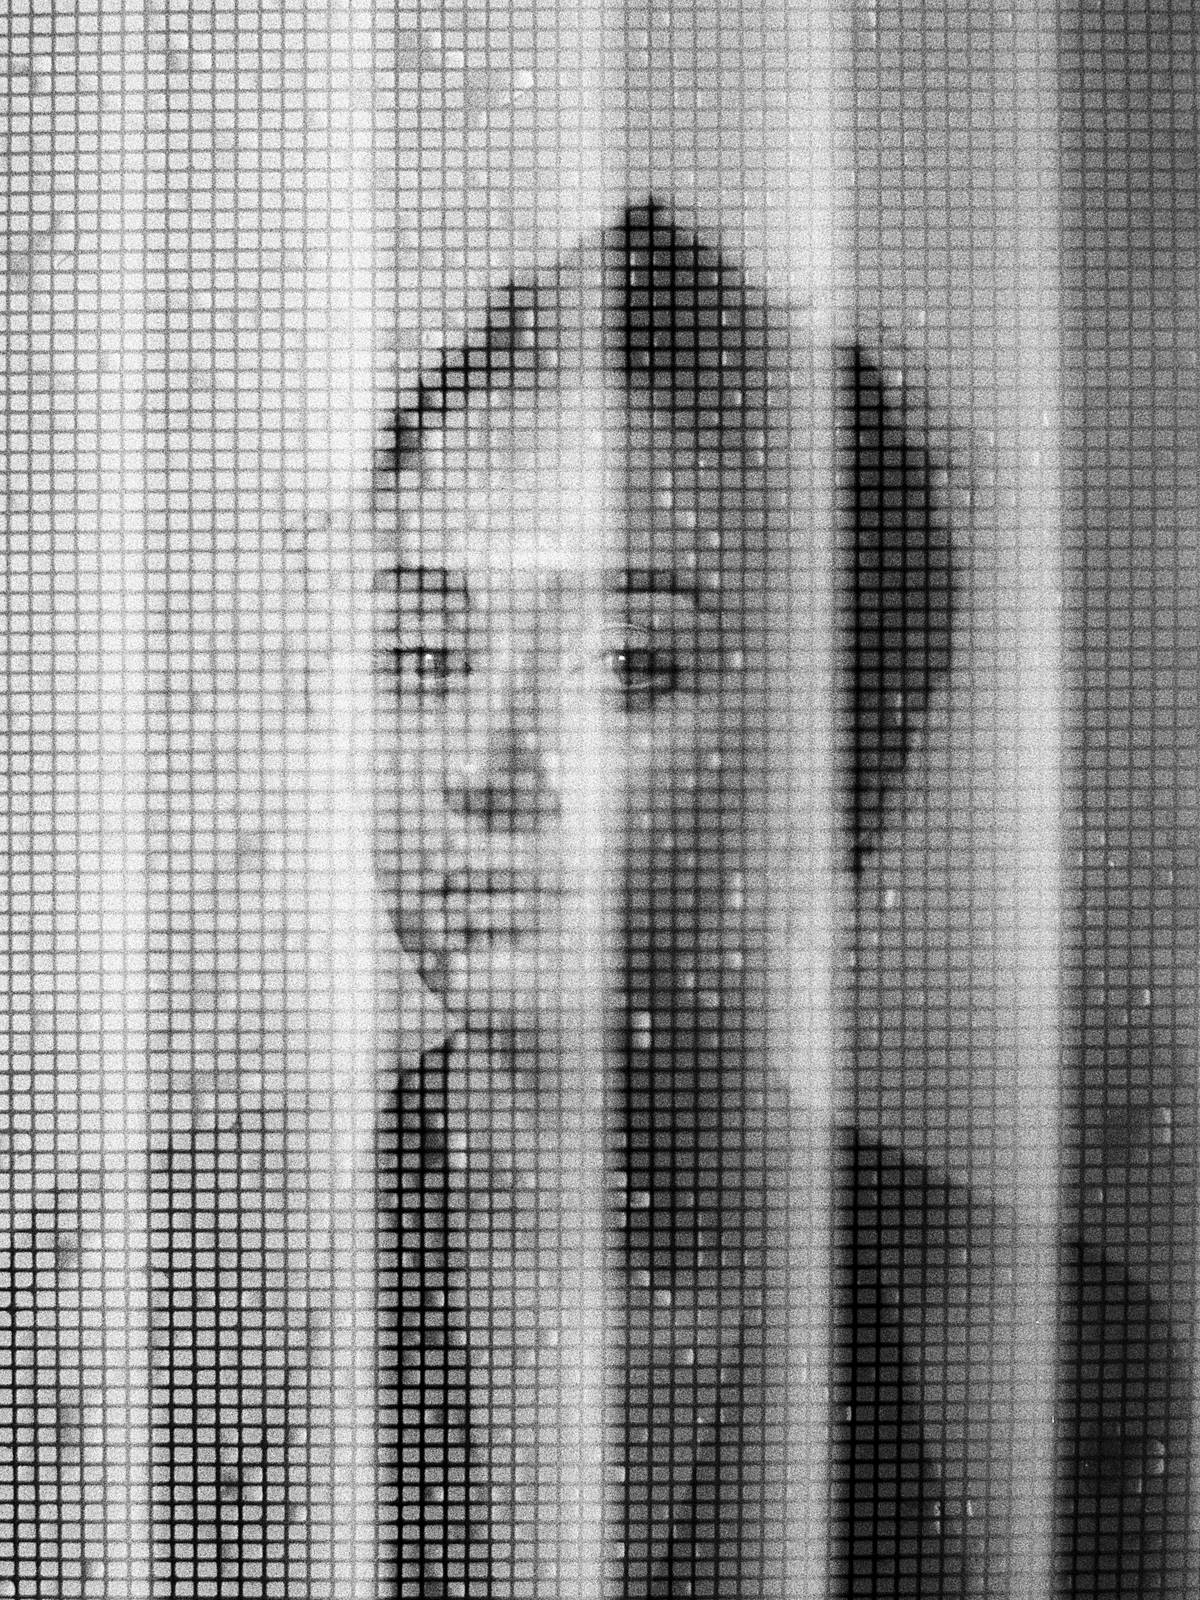
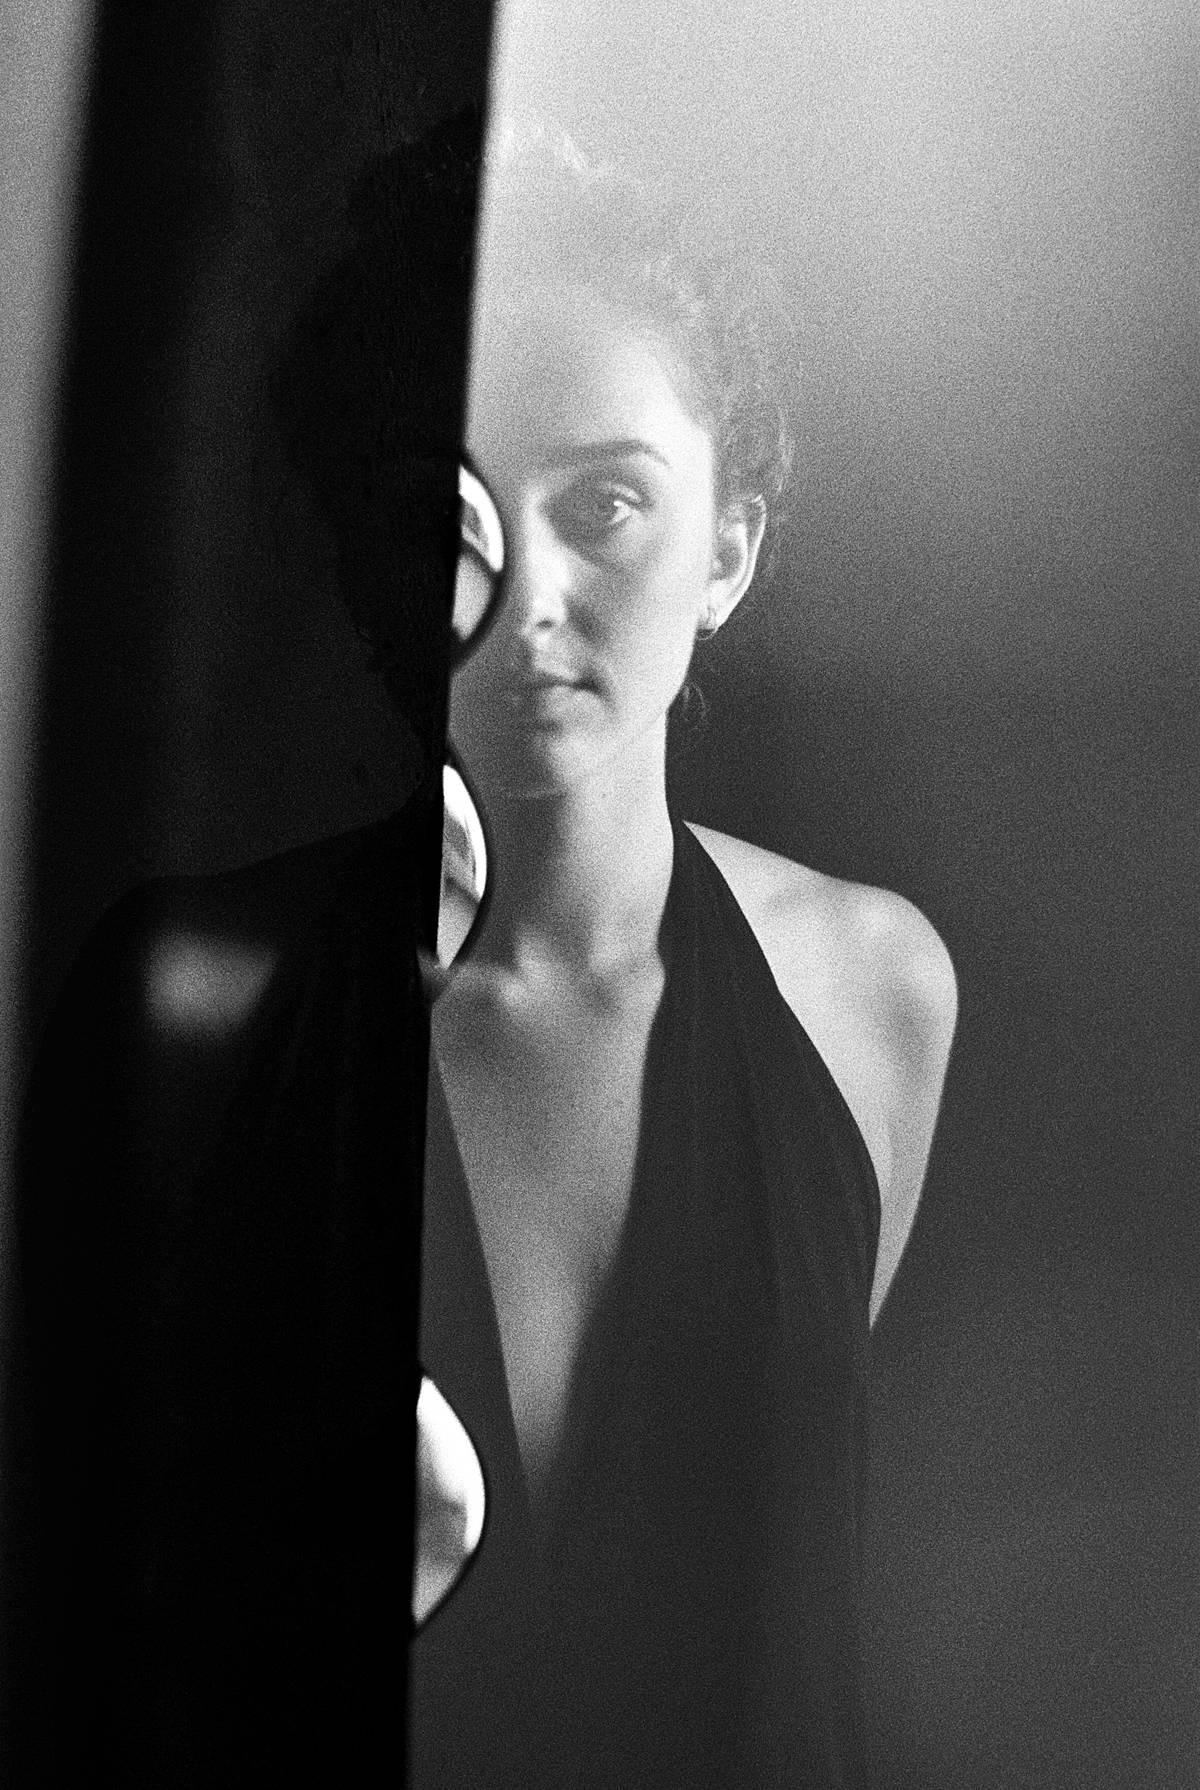
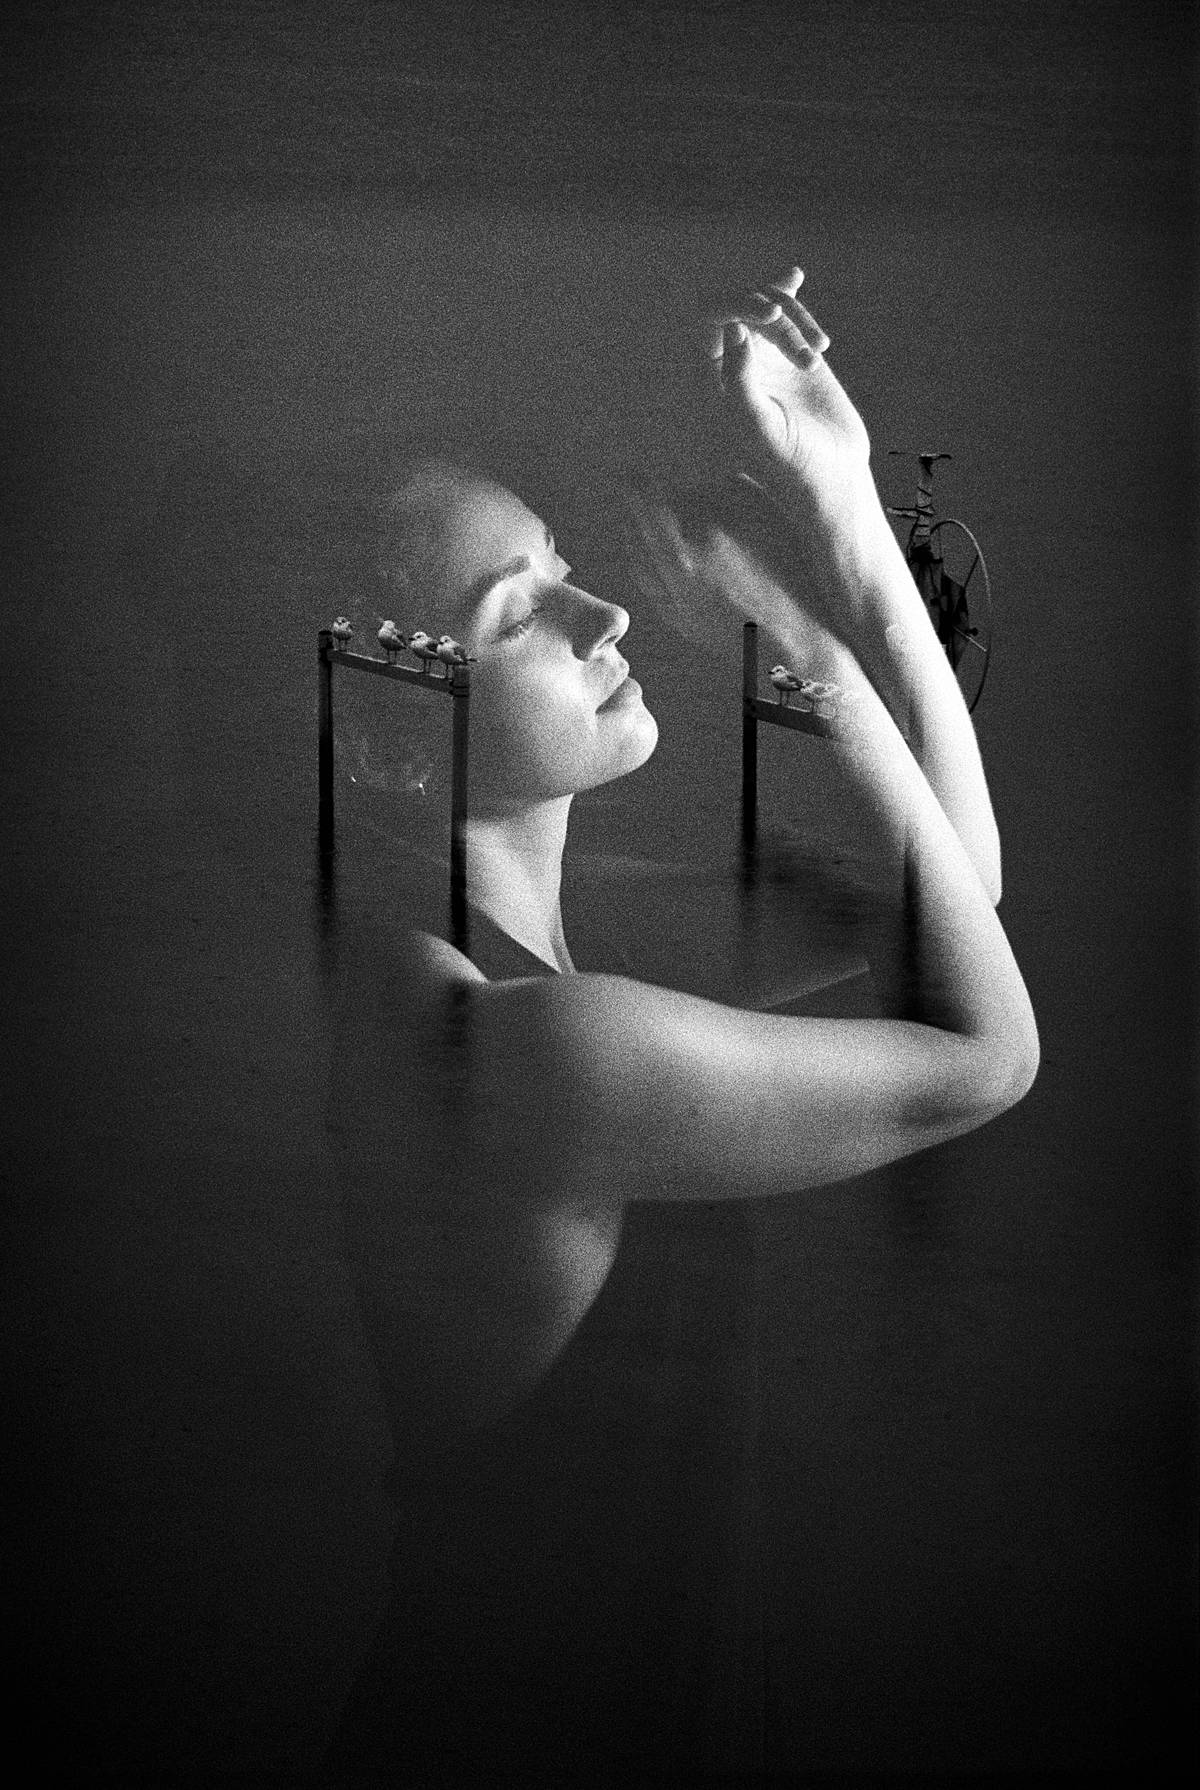
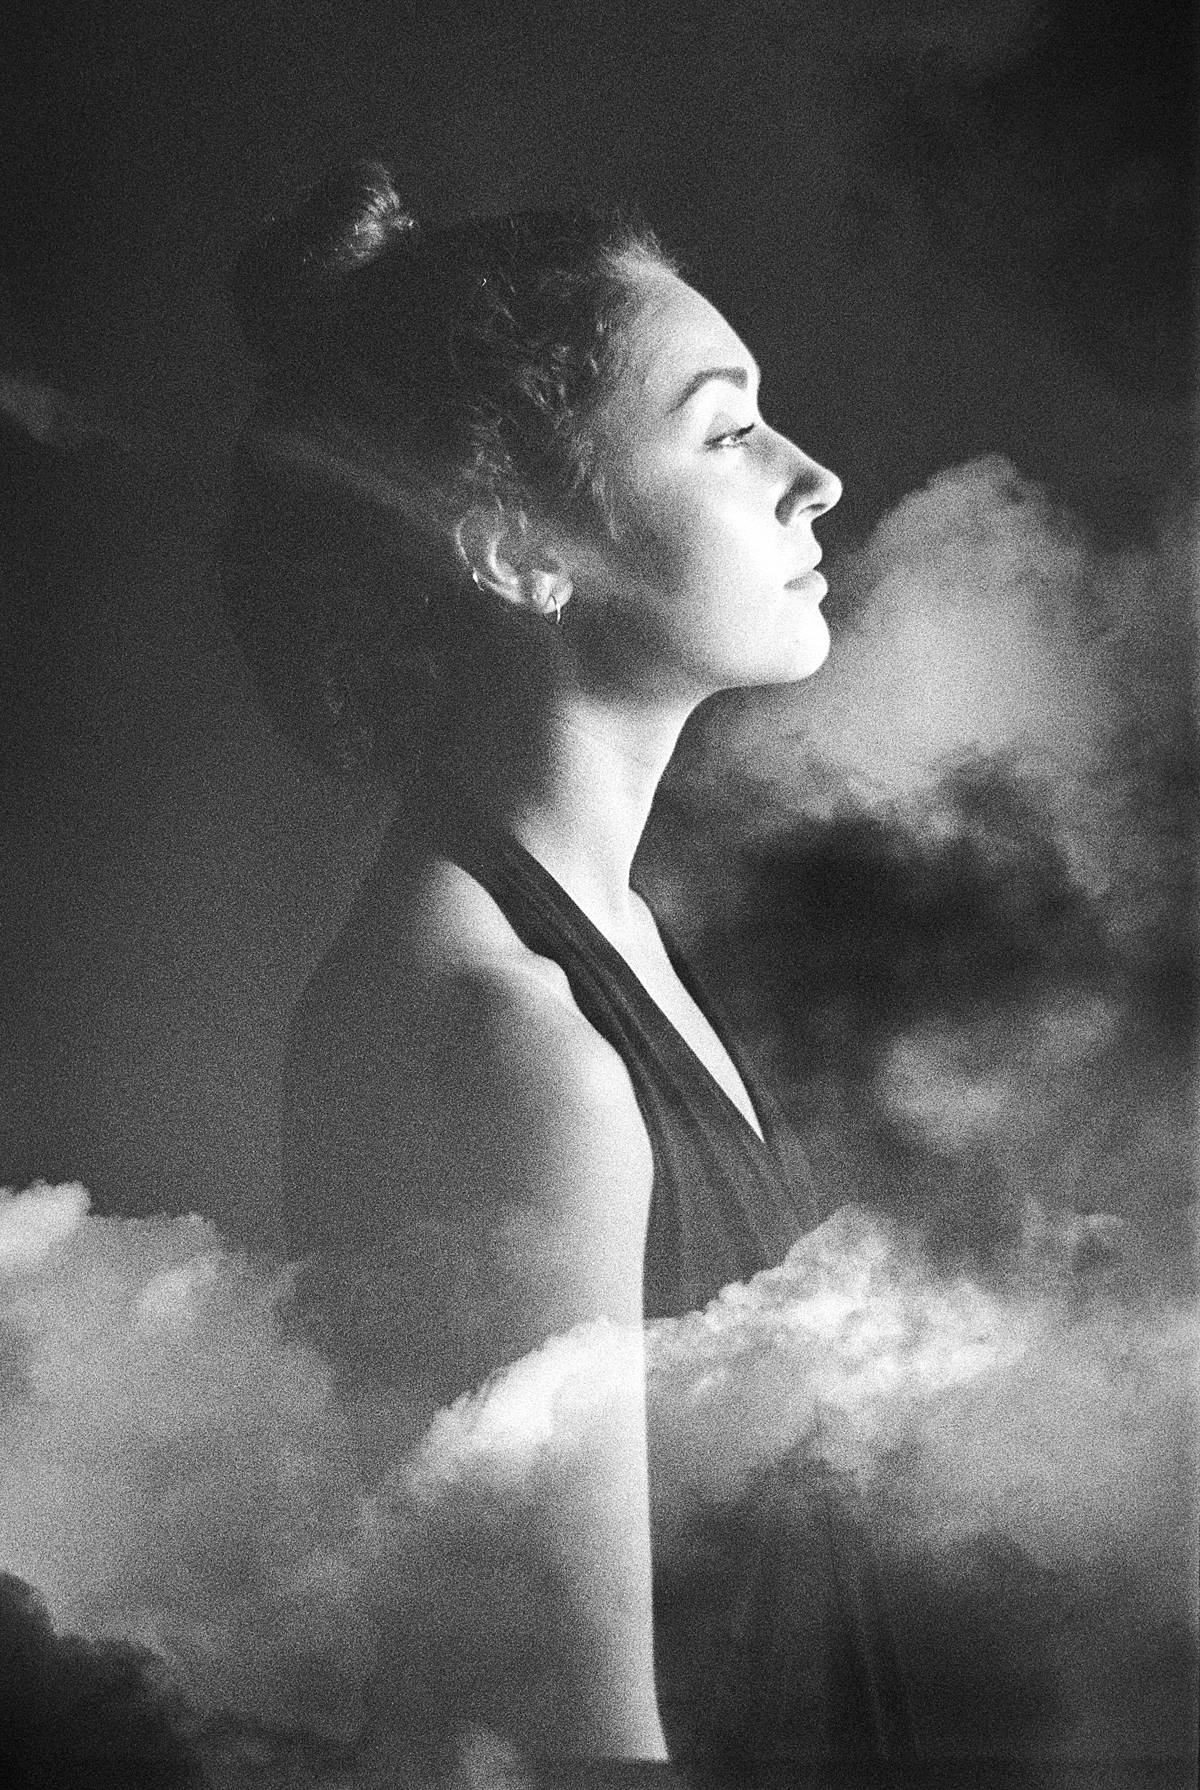
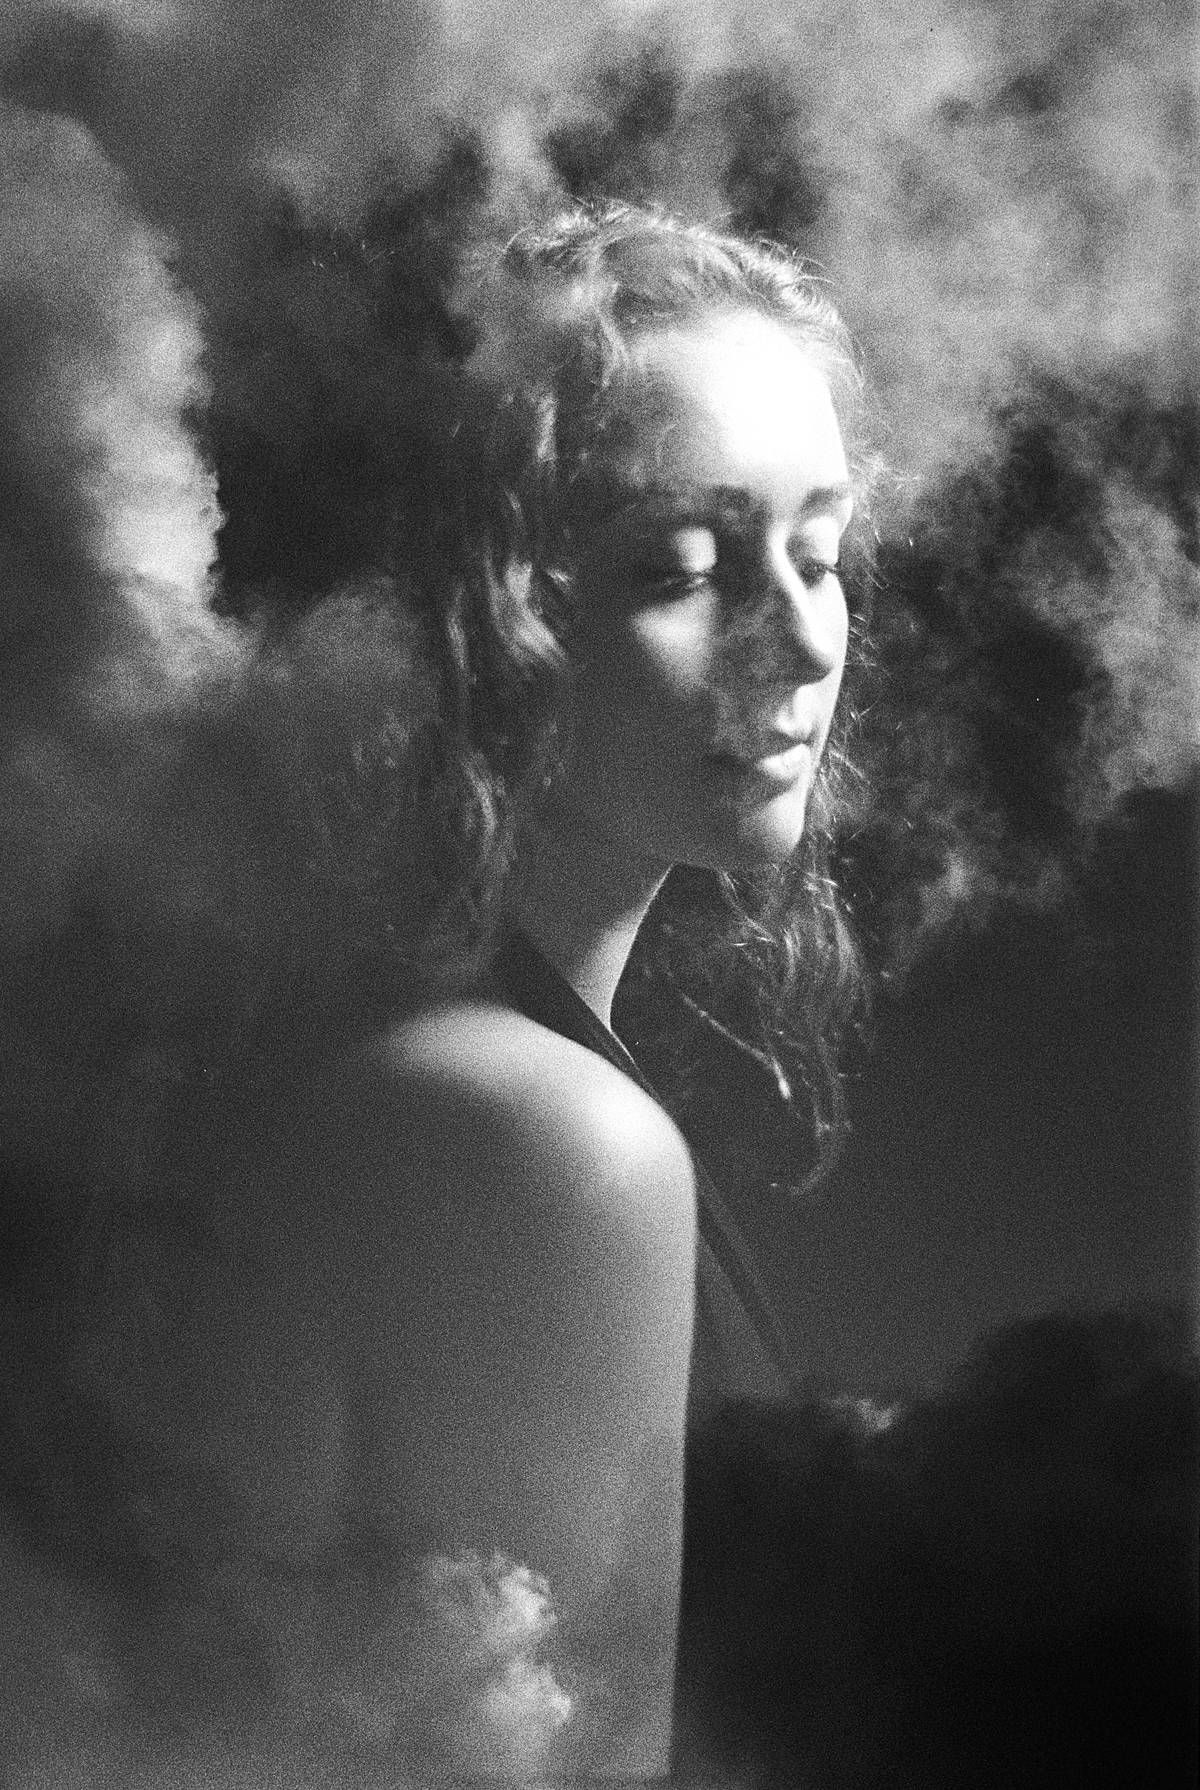
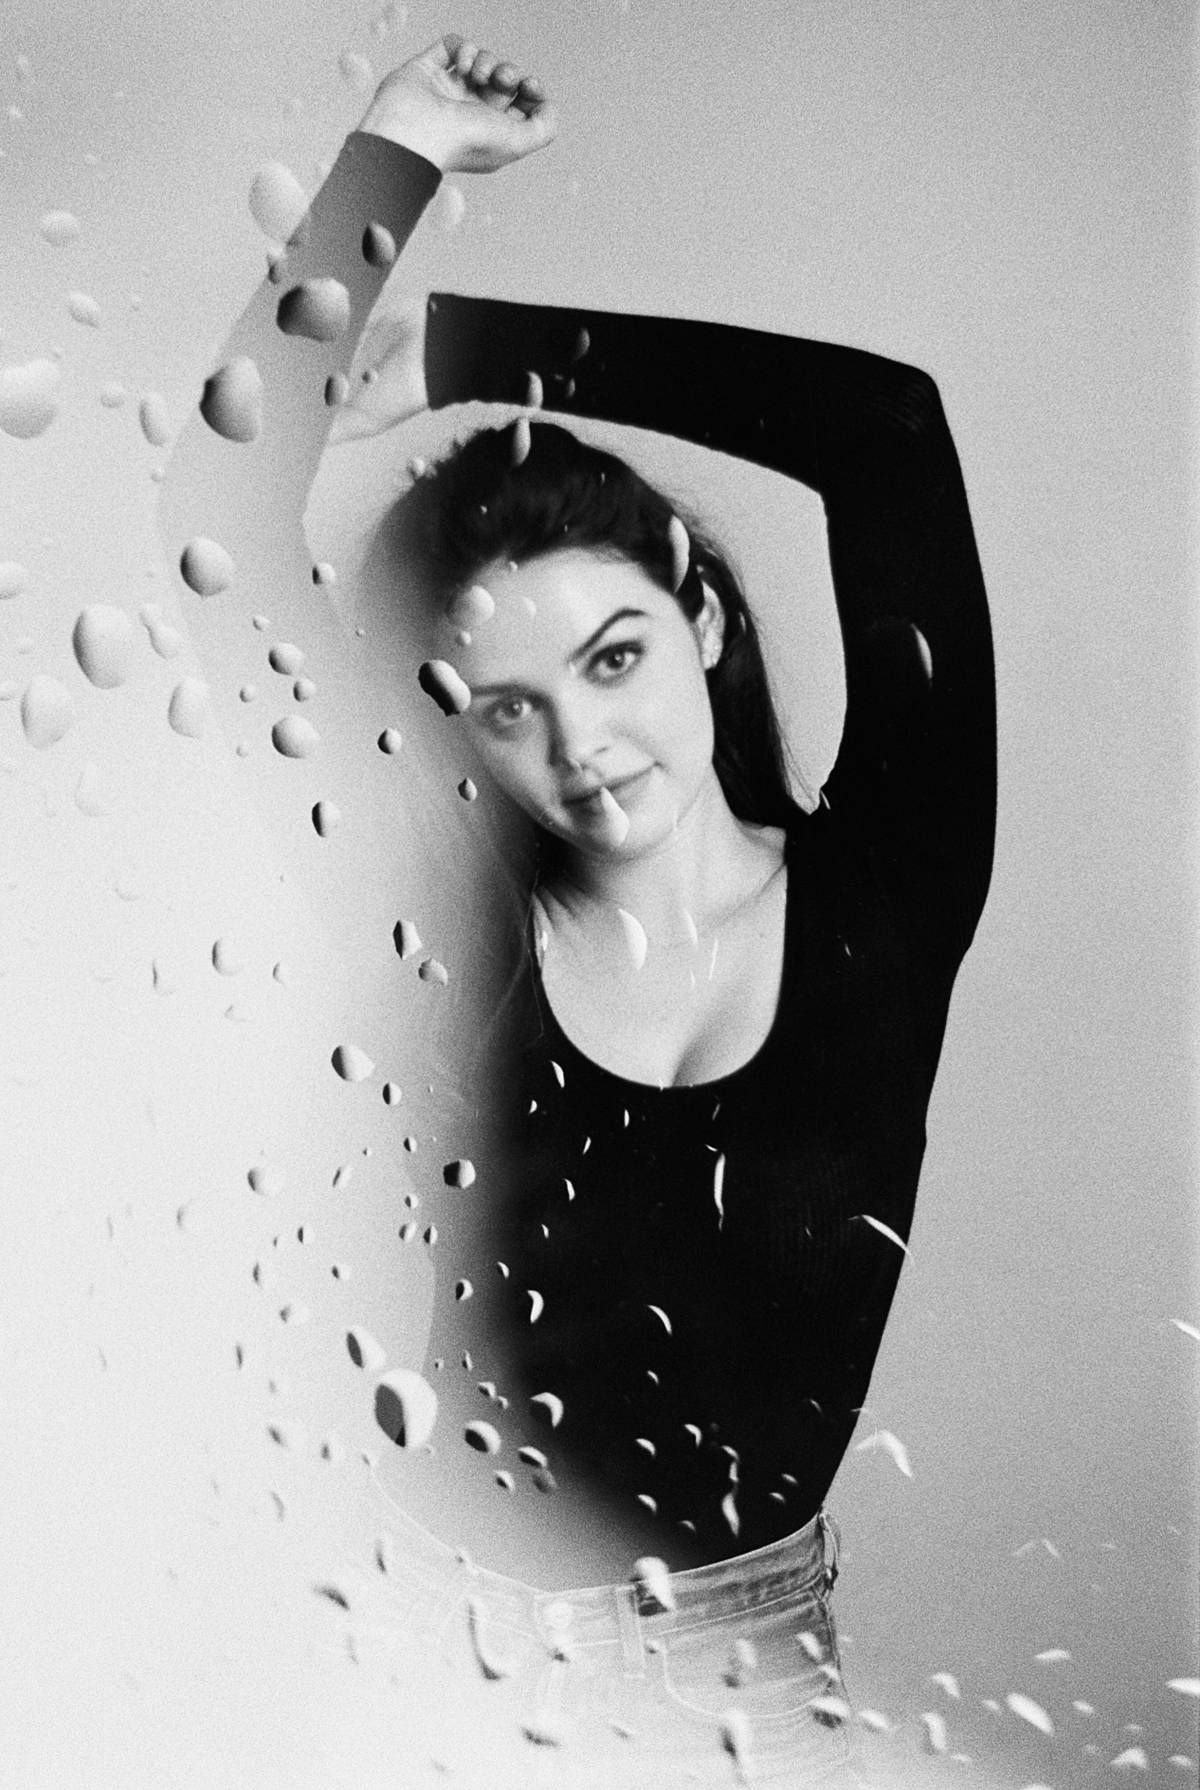
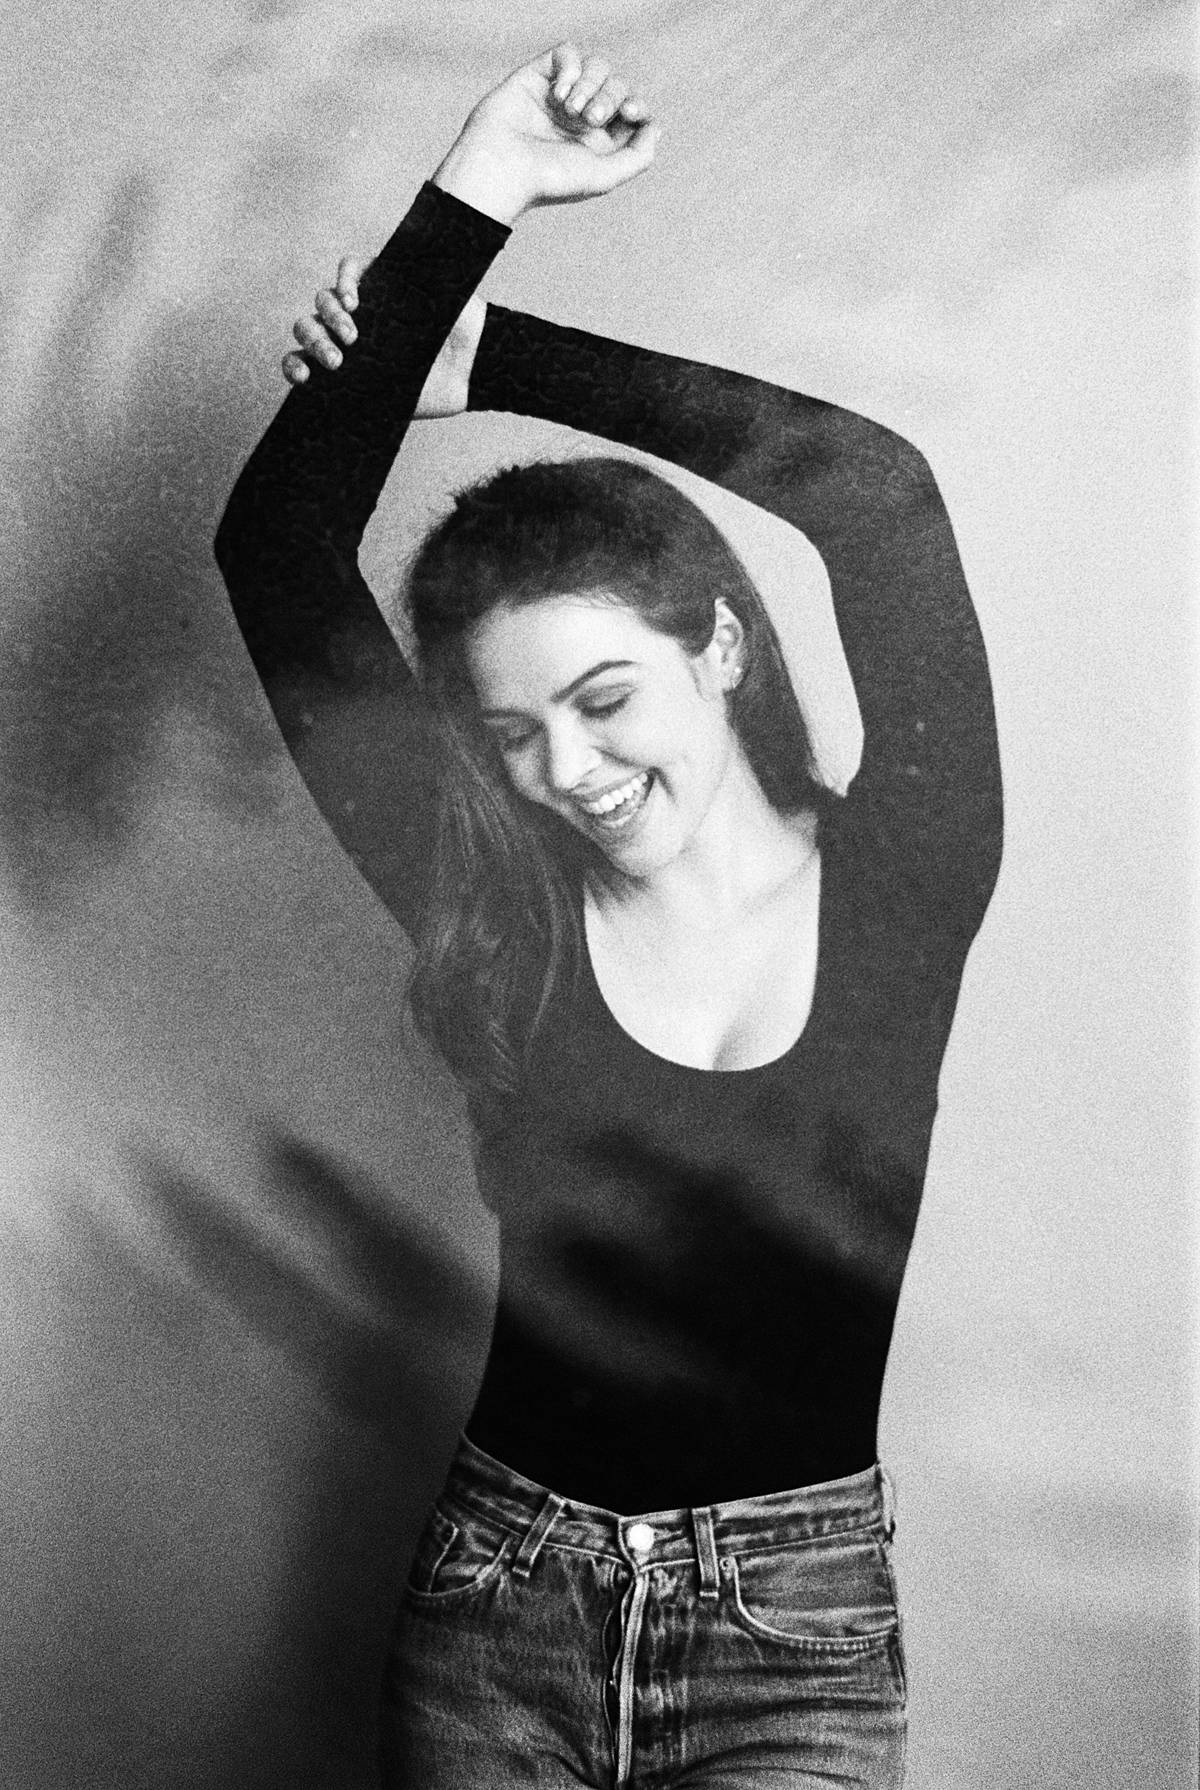
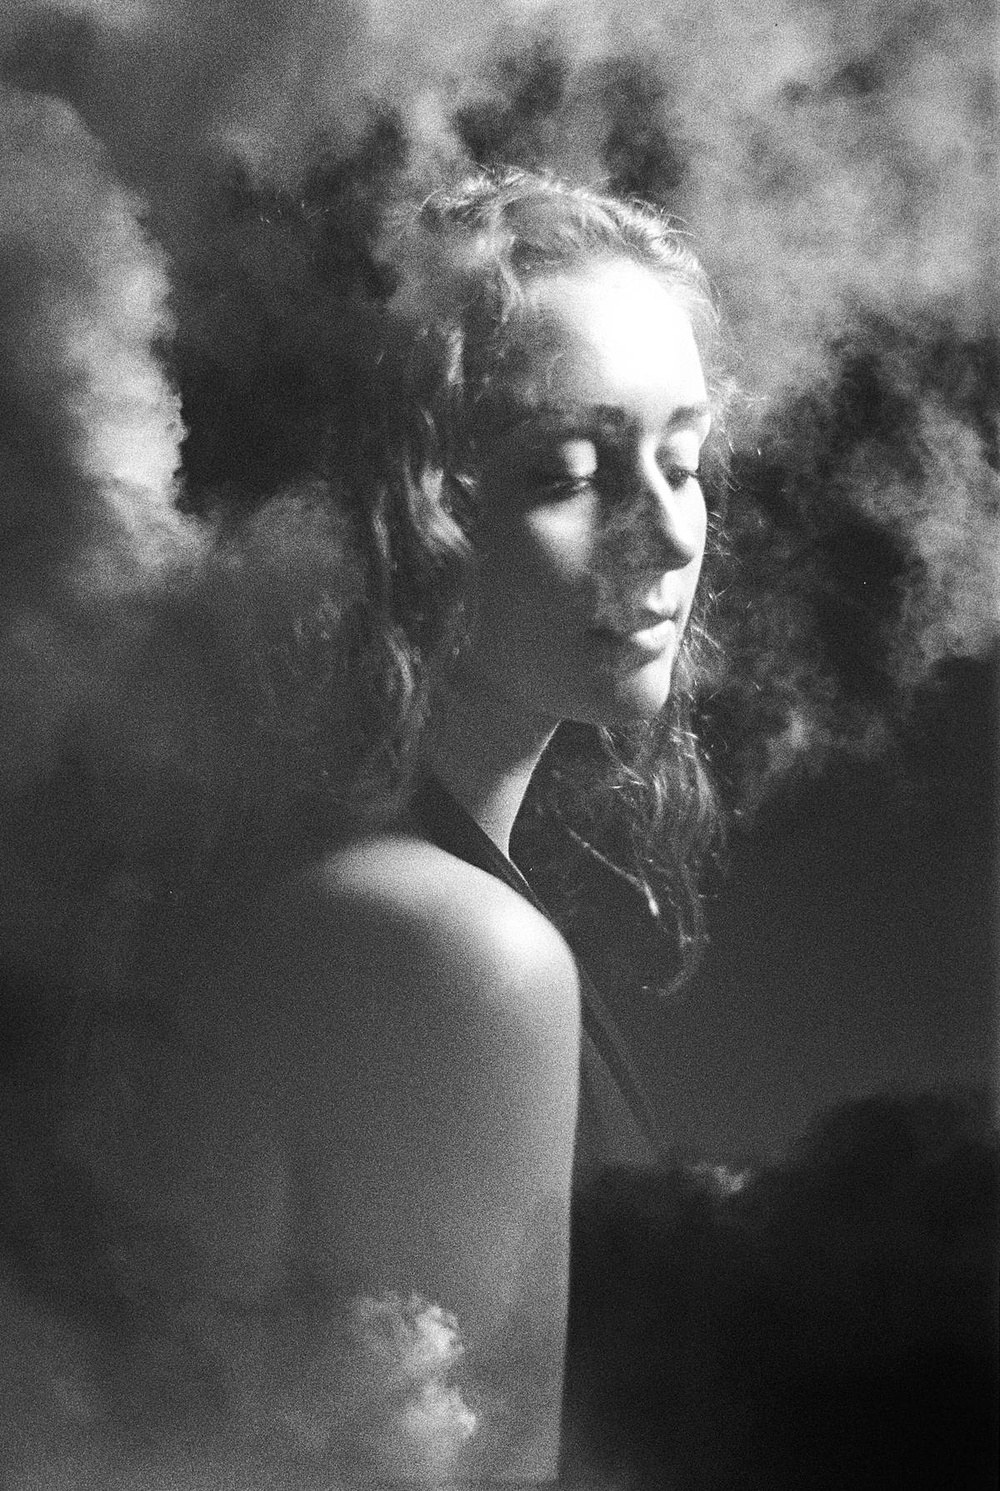
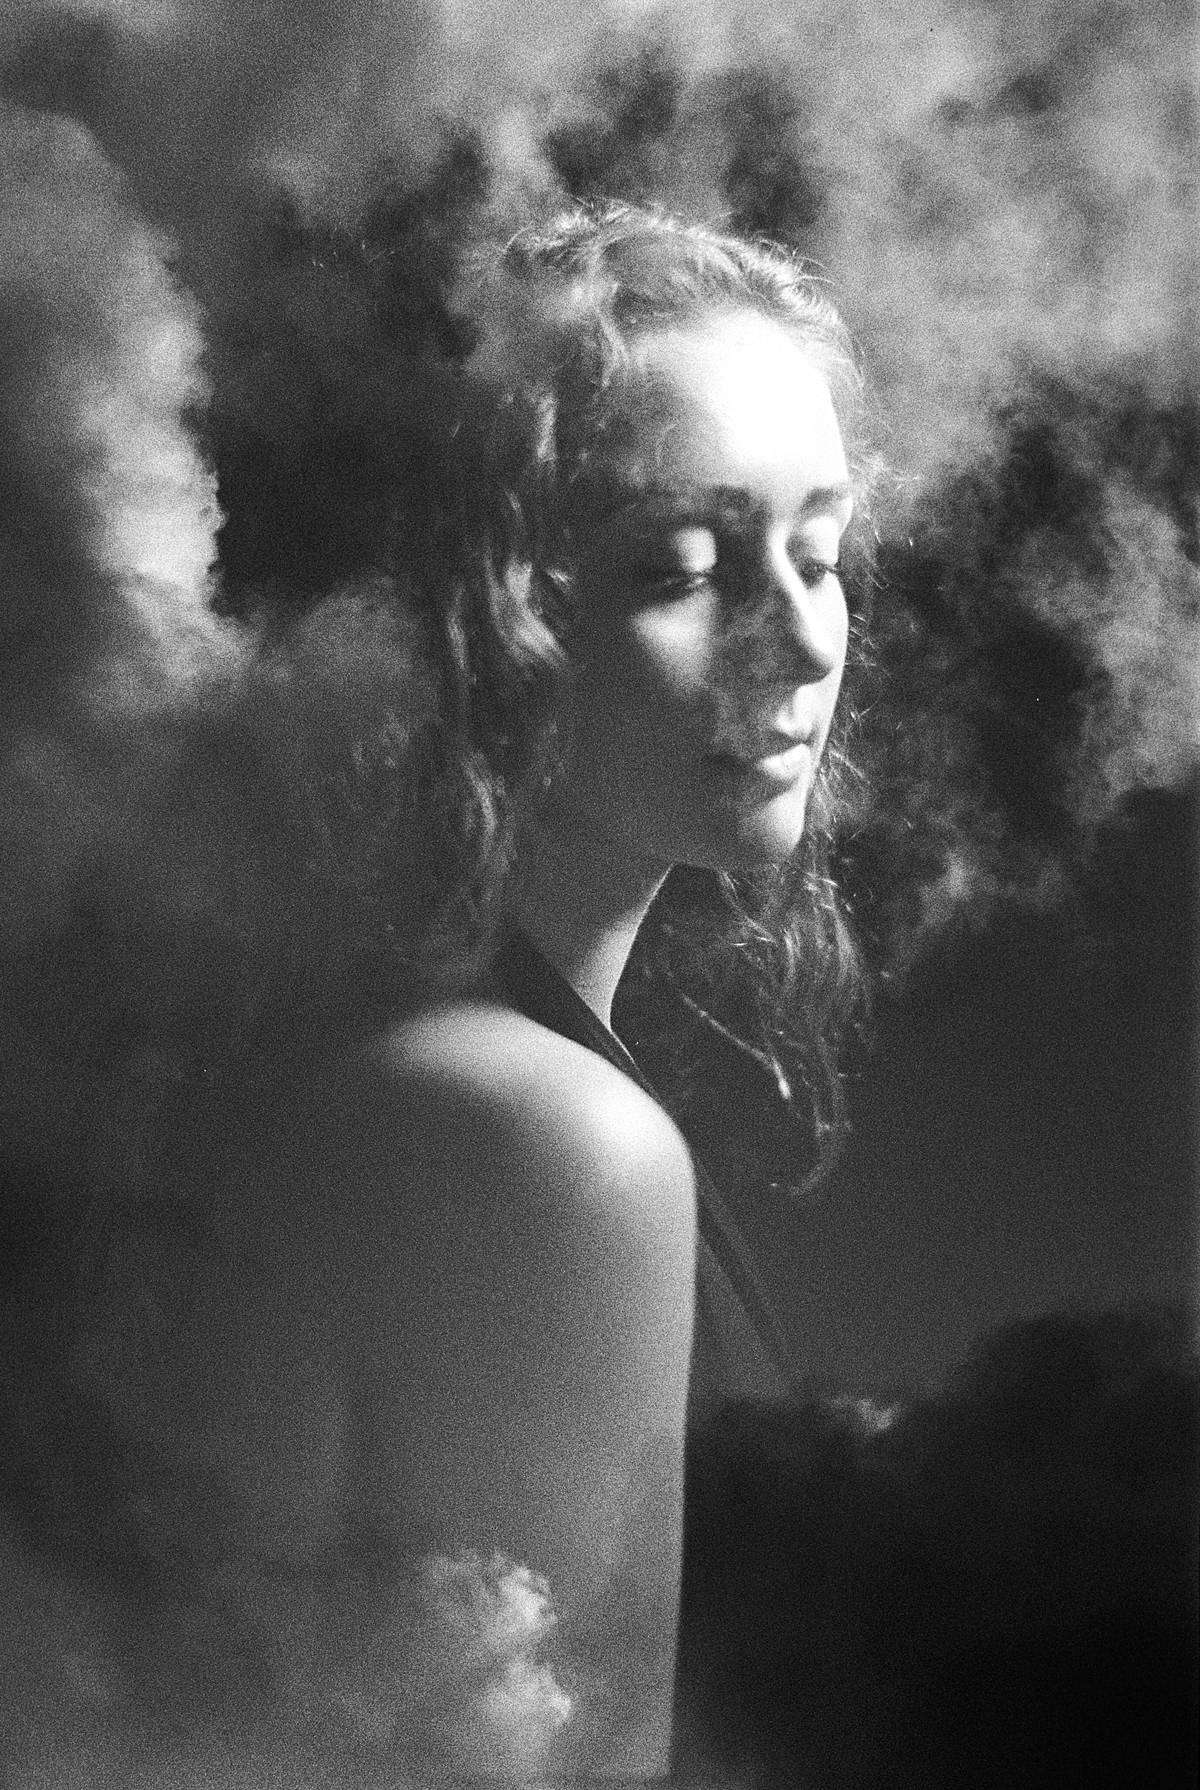
This is a how to guide on shooting an entire roll of 35mm film double exposures by shooting over the entire roll, start to finish, on two separate occasions. It's super unpredictable, but easy to do and a ton of fun. Every image isn't going to be a keeper, but the ones that are will excite you to shoot more. Most of the images in this post, all the black and whites, were from my first ever experiment with this method - shot on Kodak Tri-X 400 35mm film.
All images were made on either Kodak Tri-X 400 35mm film or Kodak Portra 400 35mm film. I recommend having two 35mm cameras for this process, that way there is no rush to finish off a roll. I have a Nikon FM2n that is dedicated to double exposure rolls, allowing me to take my time and still have another 35mm camera to use for daily fork. If you have general questions about double exposures on film and best practices, check out my other blog post on double exposure basics.
Double Exposure How To - Tips and Tricks
Equipment Needed
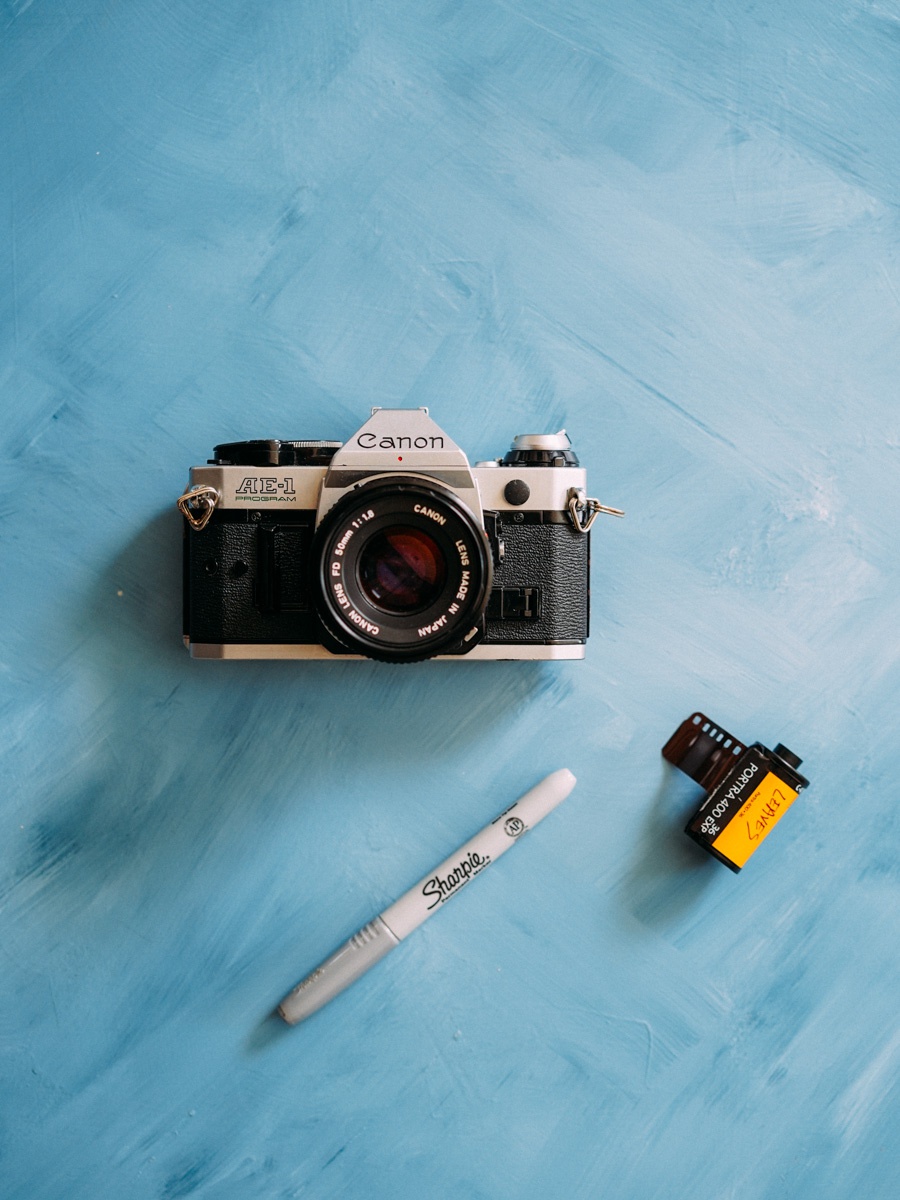
I recommend having a dedicated 35mm film camera just for double exposures. This allows you to take your time, exposing the roll and carefully selecting the subject matter over a long period of time. This also keeps you from needing to use this camera for other work, and won't cause you to rush through a roll. You'll need a roll of 35mm film - I recommend one of Kodak's 400 speed films like Portra 400 or Tri-X 400 for their flexibility in latitude. You'll get the most consistent results with a high latitude film. The only other thing you'll need is a permanent marker that is visible on the film lead.
The First Exposure - Shoot the Entire Roll of 35mm Film Once Through
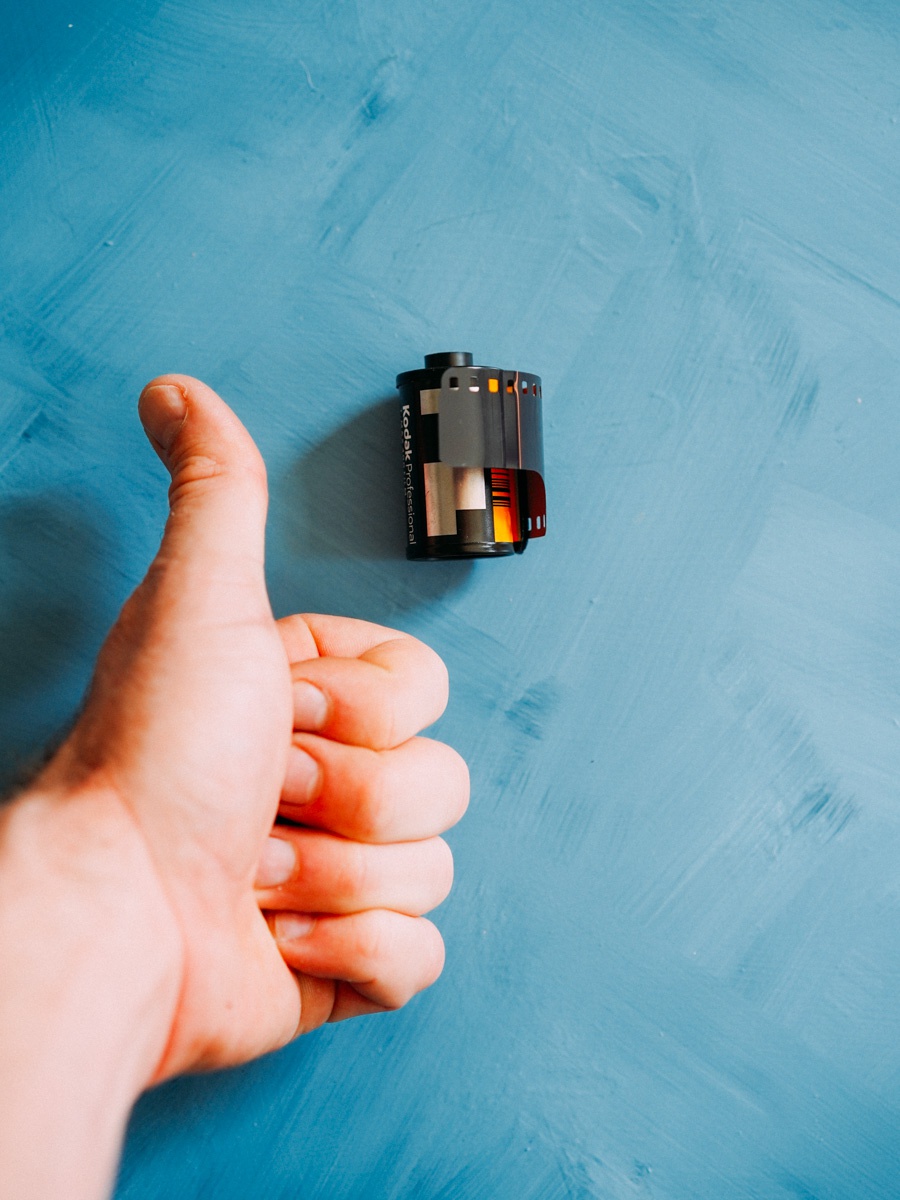
Load the 35mm film roll in the camera as you normally would. Set the lead in the takeup spool and advance it one wind lever ONLY. I highly recommend pulling more of the lead out than you normally would because the key is the single advance of the film lever. There will be a bit of excess, but you just wind it back in. Use the rewind crank to pull the film slack back into the canister.
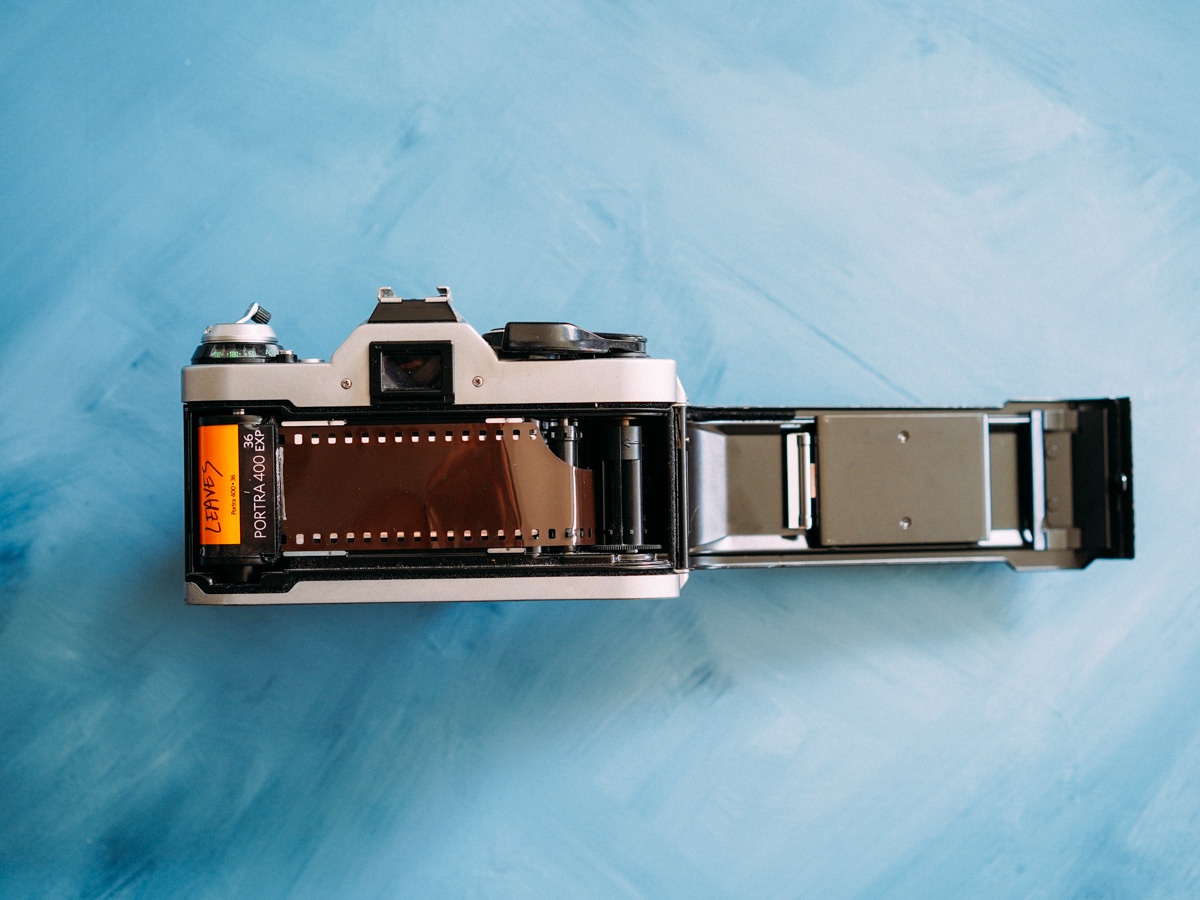
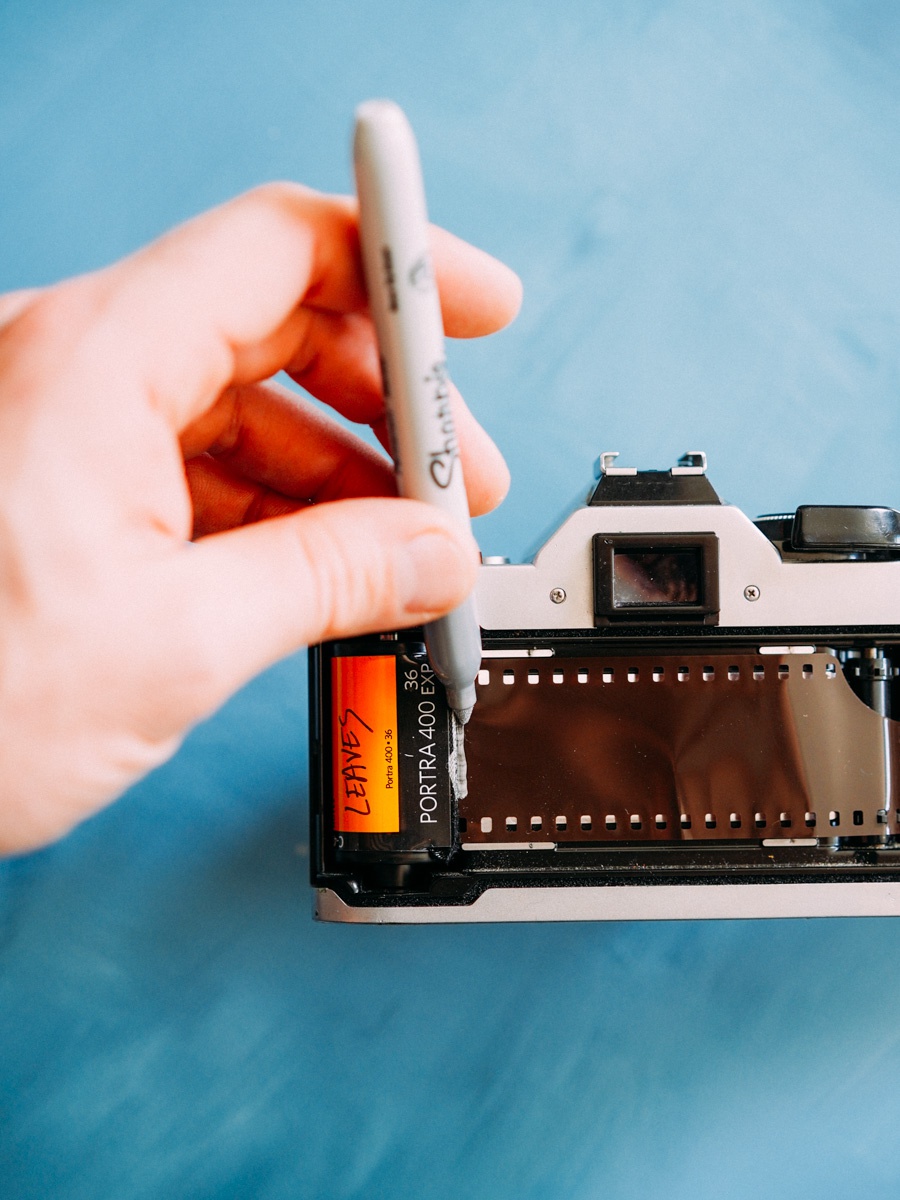
Now mark the film lead, where it leaves the 35mm canister with your permanent marker. Make sure the marking is visible and is not likely to rub off.
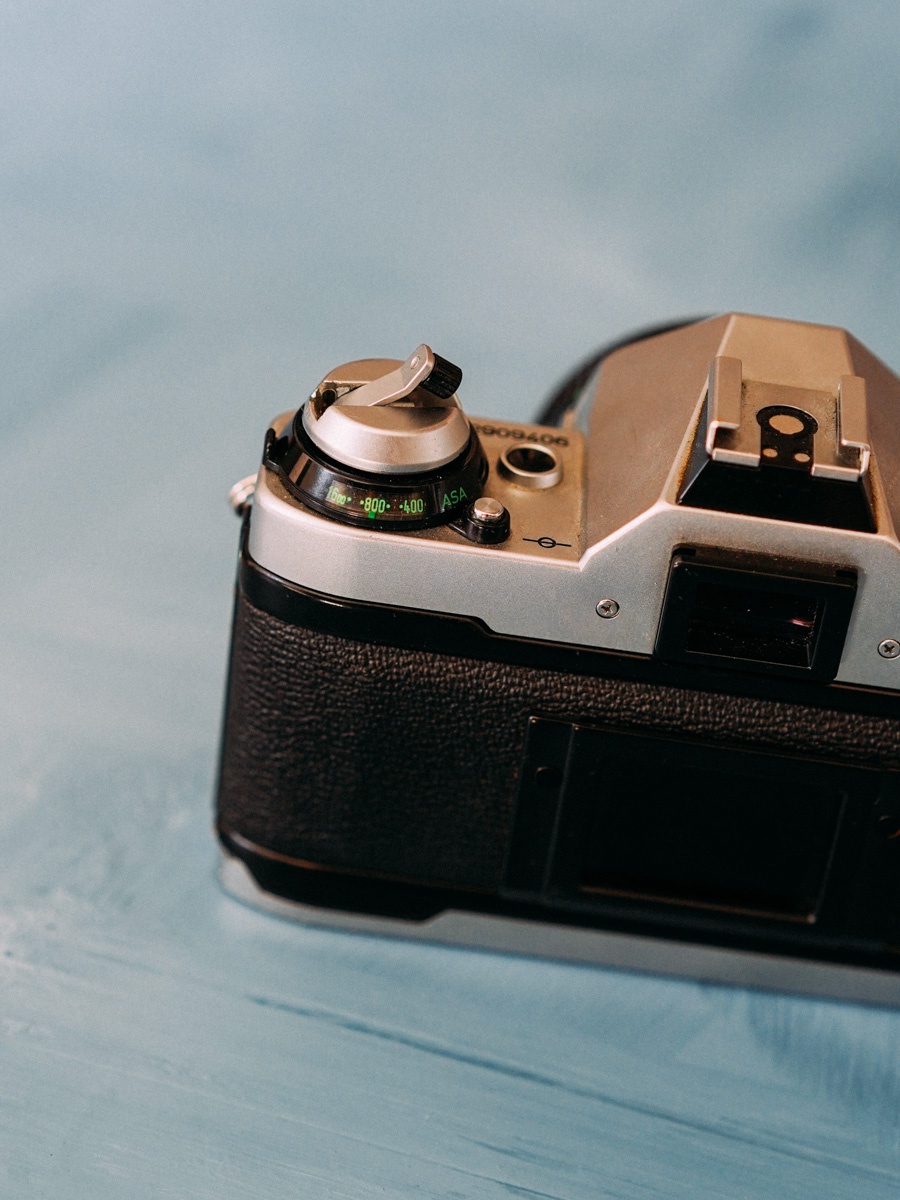
Now close the film back as you normally would and advance to the first frame. IMPORTANT: set the camera ISO and/or your light meter's ISO to twice the film's stock speed. For example// with Kodak Portra 400, you rate it at an exposure index of ISO 800. This is because you will be exposing the roll twice. Exposing twice at an ISO of 800 is the same equivalent exposure as exposing once at an ISO of 400.
Tips for the first entire roll exposure
There is no right or wrong way to do this! You can be very calculated about your exposure and subject matter or completely careless and spontaneous. I recommend the first time doing this that you lean more toward being calculated that way you can get a good feel for what worked and didn't work and how exposure, subject matter, and thought process affect the end results.
1. Shoot your secondary subject first. I call this the 'texture' subject. I typically shoot once over to give texture and positive/negative space to the subject, and then the second time over I shoot entirely portraits. Focus on shooting subjects, objects, etc. that have a lot of tonality and texture. Lots of differentiation in highlights and shadows means areas where the film will either show more of the primary subject or less of the primary subject. This results in a much more interesting image.
1a. Let me break it down for you quick. Say you take a photograph of an intense storm cloud at sunset. That cloud is likely to have very dark patches and intense highlights (near whites). When you shoot over that cloud image the second time with, say a portrait, the portrait will show strongly on the dark part of the cloud, but little on the bright part of the cloud. This will be because the highlights of the cloud were already eating up most of the film's dynamic range.
2. Pick a theme! The black and white images, below, were all shot with a theme of 'water'. I shot the entire roll through the first time focusing on water: rain clouds, water droplets, lakes, etc. This gives a consistent theme to the image set and helps you figure out what you do and don't like in a double exposure.
3. Be careful with exposure. Remember that you are wanting the primary subject to show in parts of the image (secondary subject). It won't be a very interesting image if you photograph a very tiny secondary subject in dull light with an entirely black background, because the primary image is going to expose pretty evenly over that image. Look for intense variation in highlights and shadows, and texture in midtones.
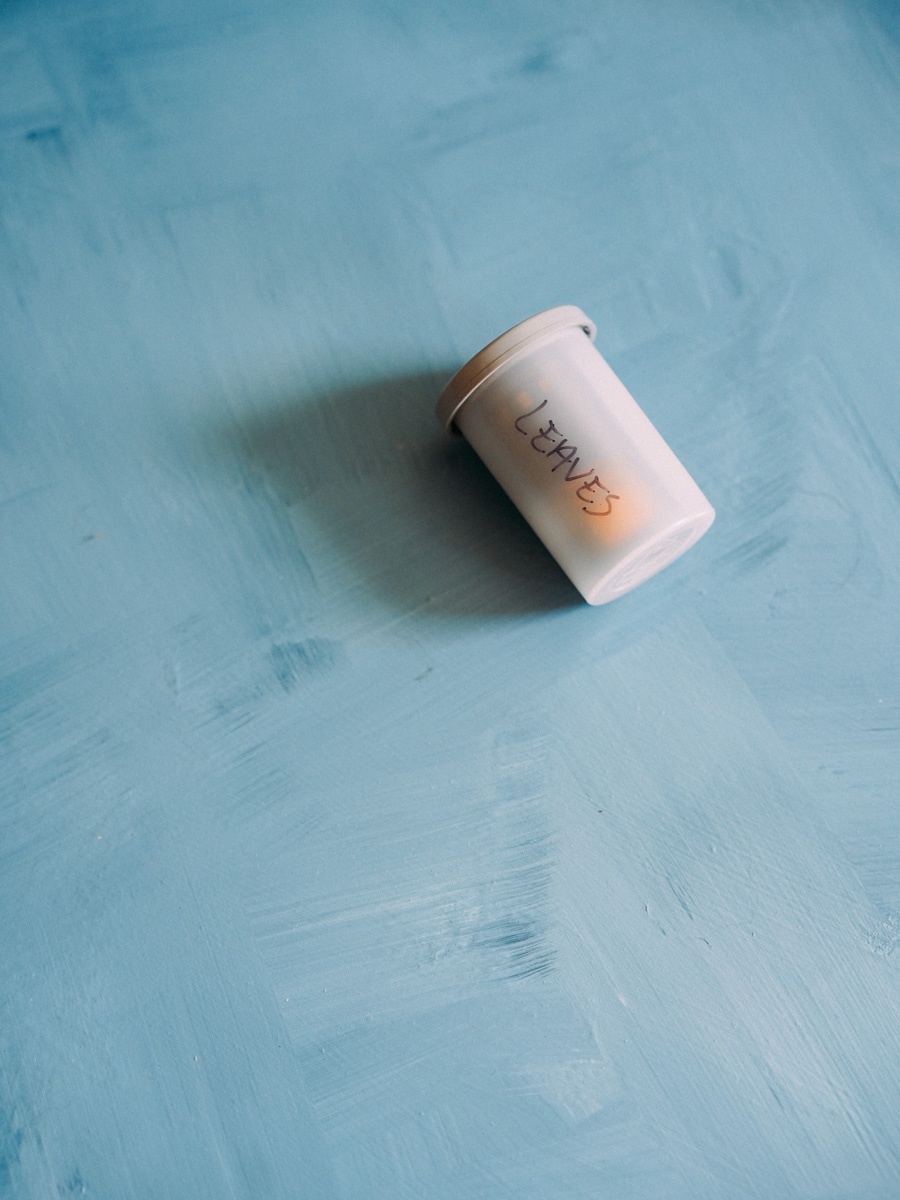
Rewinding the film after the entire first roll exposure - IMPORTANT
This is very important. Rewind the film slowly. Most 35mm film cameras have a tendency to rewind the film all the way into the canister when you rewind the film after completion. You'll feel a resitance as you are rewinding and then all of a sudden there will be less resistence and you'll hear a 'slap'. This is the sound of the film leader slapping the inside of the camera backplate. As soon as you hear this, STOP REWINDING. This will ensure the film lead is still visible that way you can load it up again! Don't panic if you screw this up. Head to the troubleshooting section to figure out what to do.
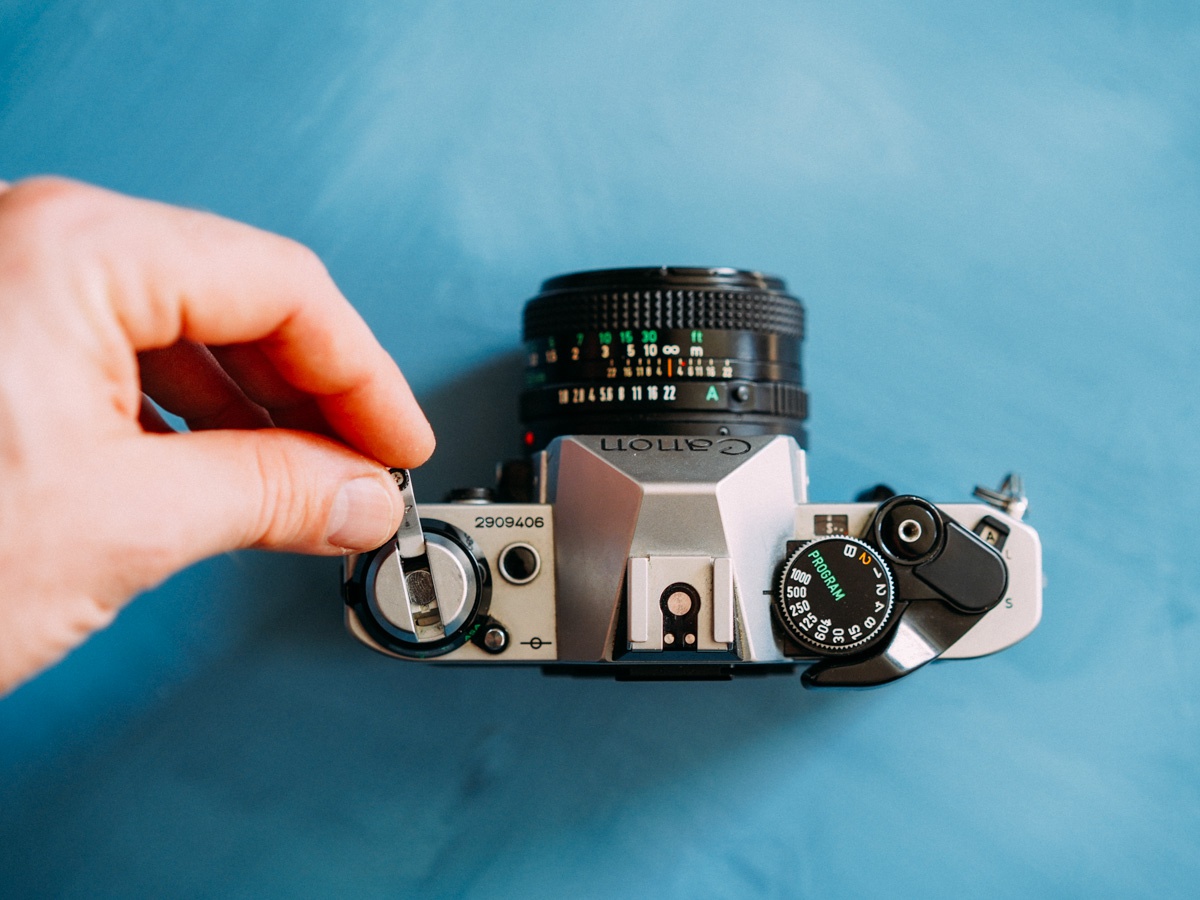
The Second Exposure - Shoot the Entire Roll of 35mm Film Again
Now is time to pick your primary subject for the second go around. I like people, so my primary subject is typically portraiture. Nothing says you have to do primary subject second, but this is just the way I like to operate. It works equally well both ways. Here is why I like to do it this way: I can stockpile rolls of labeled once exposed 35mm films and decide which secondary subject I might want to mix with my portraiture, ex// leaves, weather, architecture, flowers, caligraphy, etc.
Time to load the film again. Insert the film as you did the first time. The goal is to get the sharpie marking on the lead to match up with the edge of the canister as before. It's not the end of the world if it isn't perfect and you can see what happens when it's not in the troubleshooting section. The best way to do it is to pull a little extra out of the canister, get the advance lever set, and then rewind in the extra. If you can't get it to match up close, pull the lead out of the advance real and try again. Keep trying with the takeup spool rotated to different positions until you get it close.
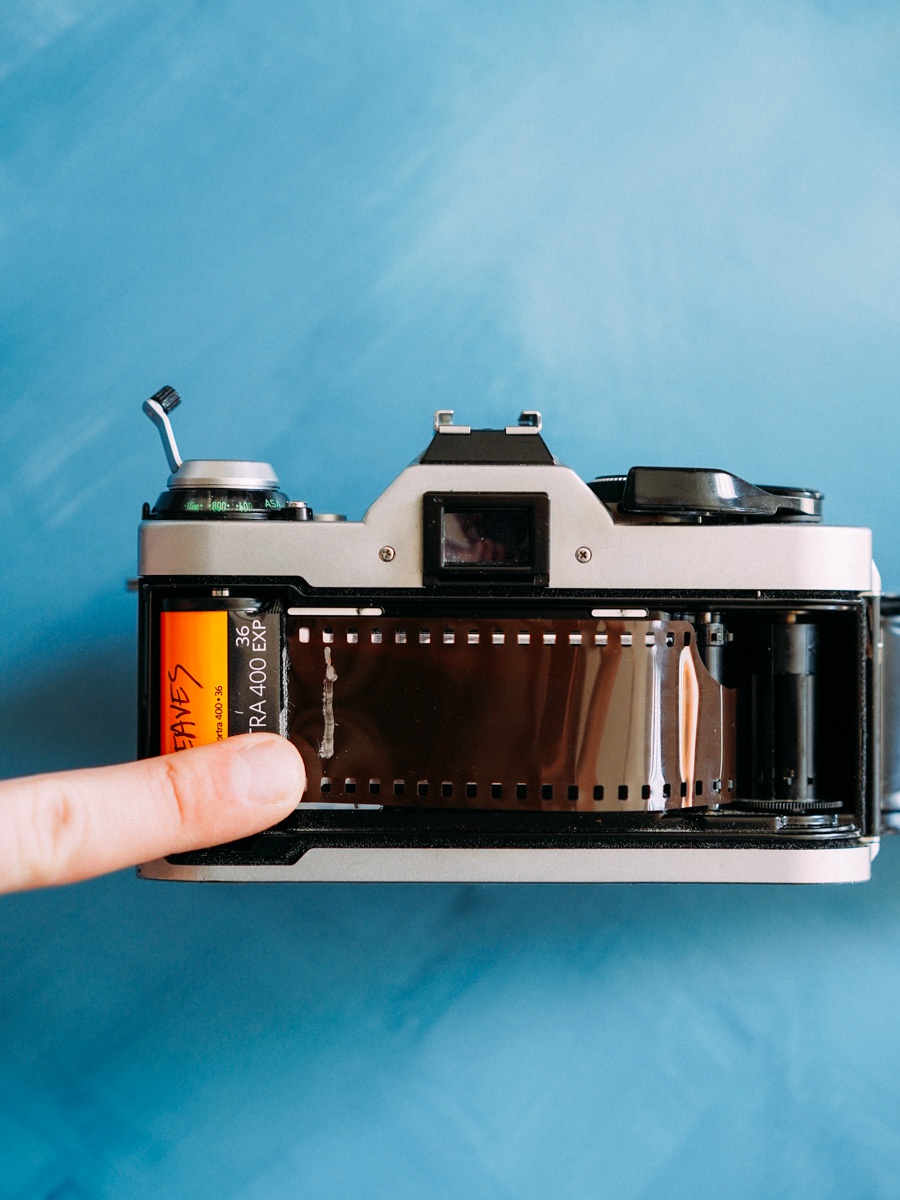
Crank in the excess until the film is taught and the marking matches up with the felt edge of the canister. If it doesn't, try again!
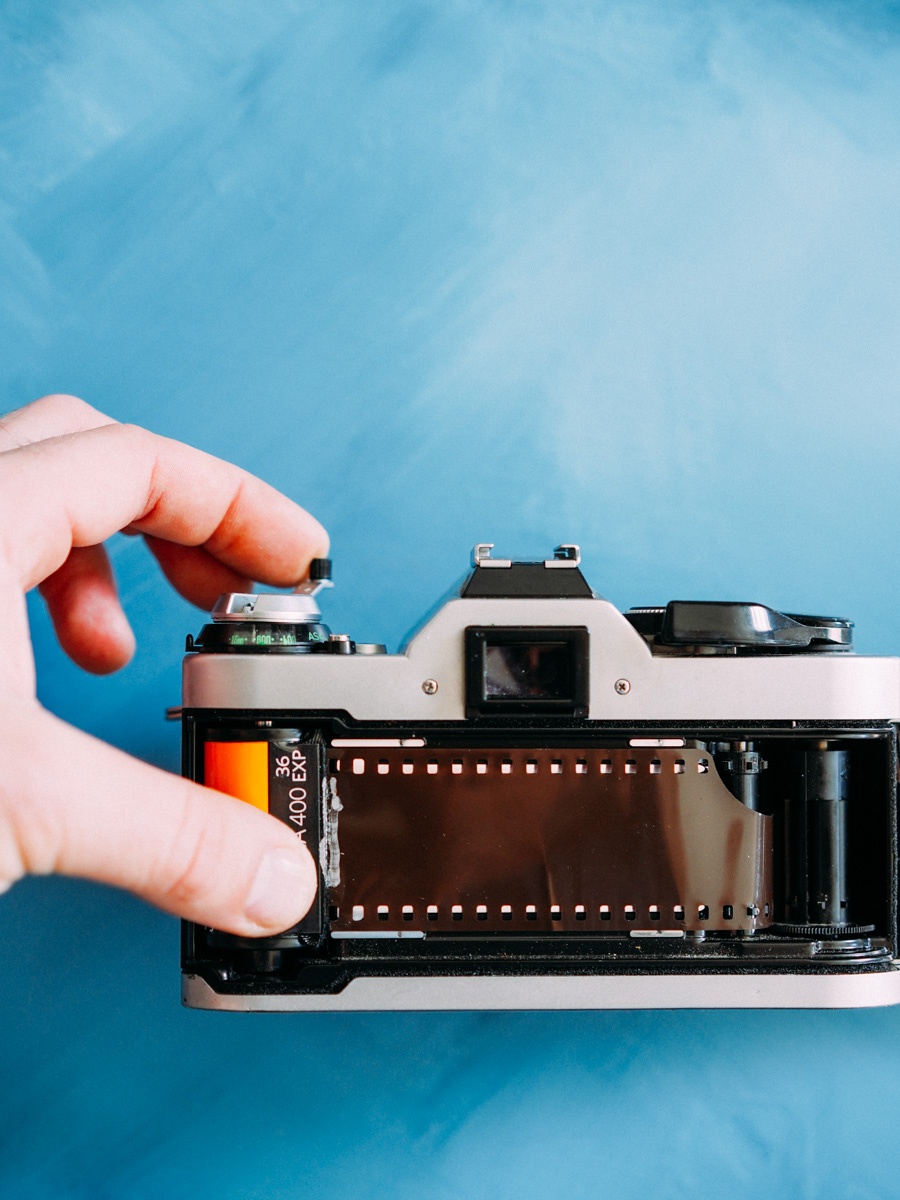
Now close the back and advance to the first frame and you are ready to go! Again, set the camera ISO to 800 (or twice the film stock ISO rating) and/or the same with your external light meter.
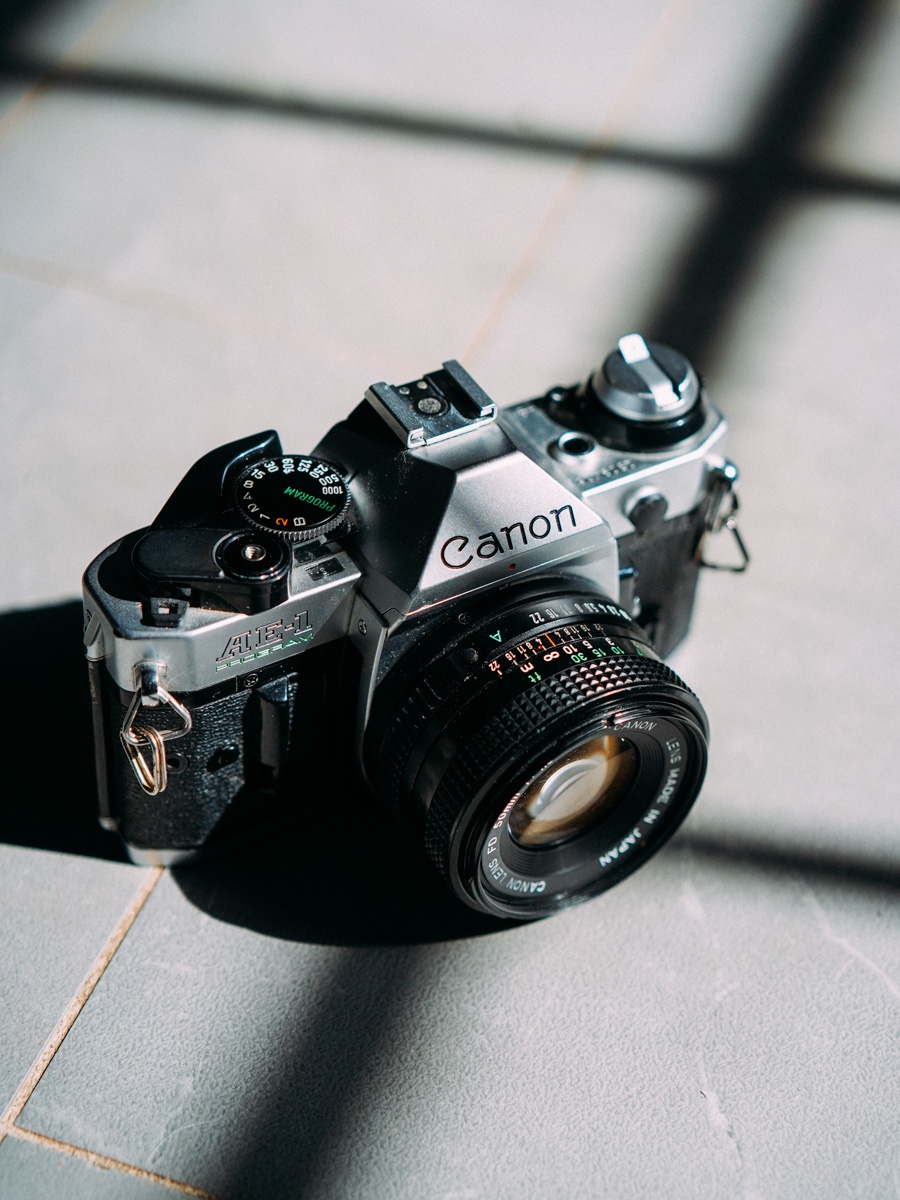
Tips for the second entire roll exposure
Same tips, essentially, apply for the second go around!
1. Pick consistent primary subjects. I mentioned before that I like to shoot portraits, so my primary subject is often people. However, mix it up! Shoot as many people as possible as primary subjects in different lighting situations to give you variety. T
2. Vary the lighting. A backlit primary subject means that the secondary subject will overlay only on top of your primary subject. A more evenly lit, front lit, primary subject will result in the secondary subject exposing over your primary subject and the background relatively evenly - think a studio portrait where there is light on the backdrop as well as the subject.
3. Separation is key with portraiture. It works best, and is more interesting if there is a clear separation between your subject and the background. Otherwise the overlapping images will make your subject get lost and sort of bleed into the secondary subject/background.
Troubleshooting - Entire Roll of 35mm Double Exposures
1. You accidentally rewind the entire film lead back into the canister.
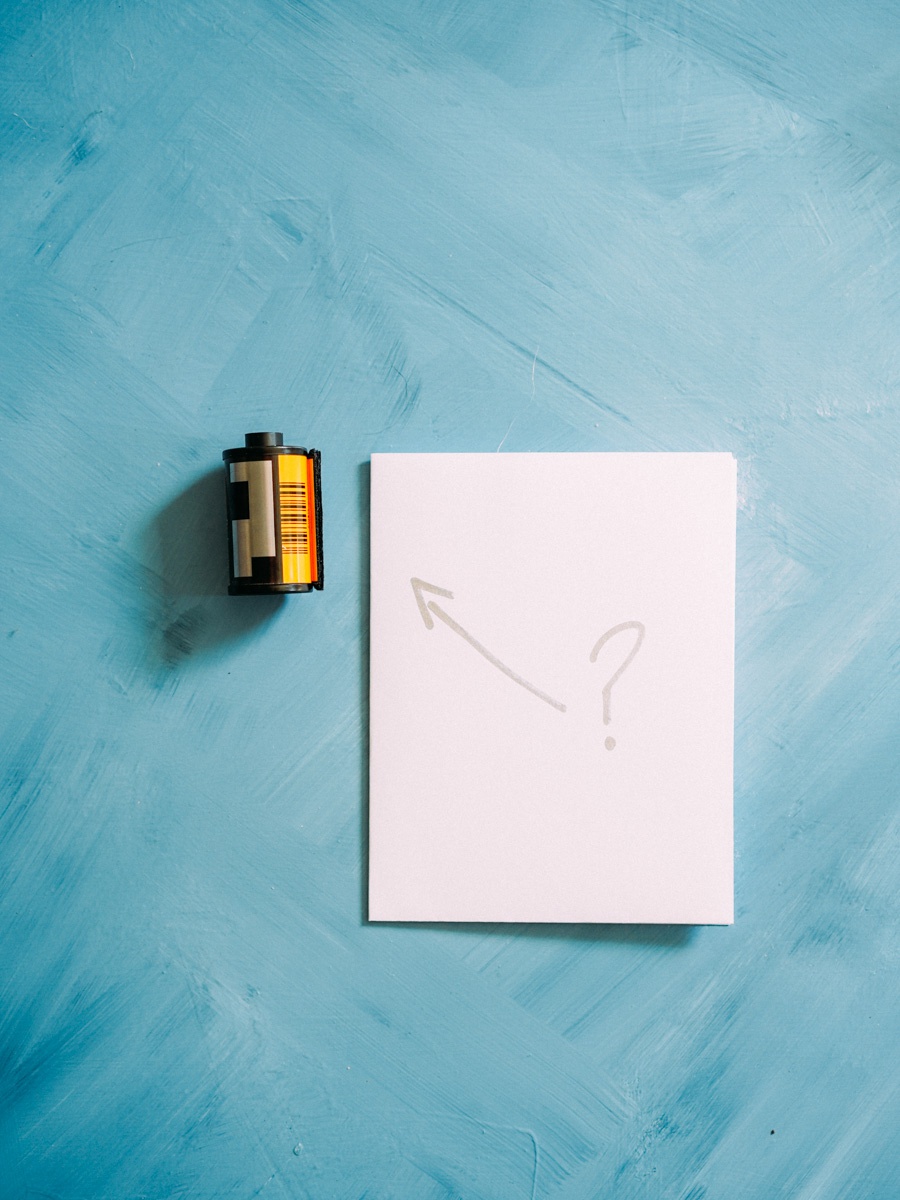
You can retrieve it. It takes a few tries, but persist and you'll get it! All you need is a bad roll of 35mm film where the lead is out of the canister. I have an old roll of film dedicated to 'lead retrieval'
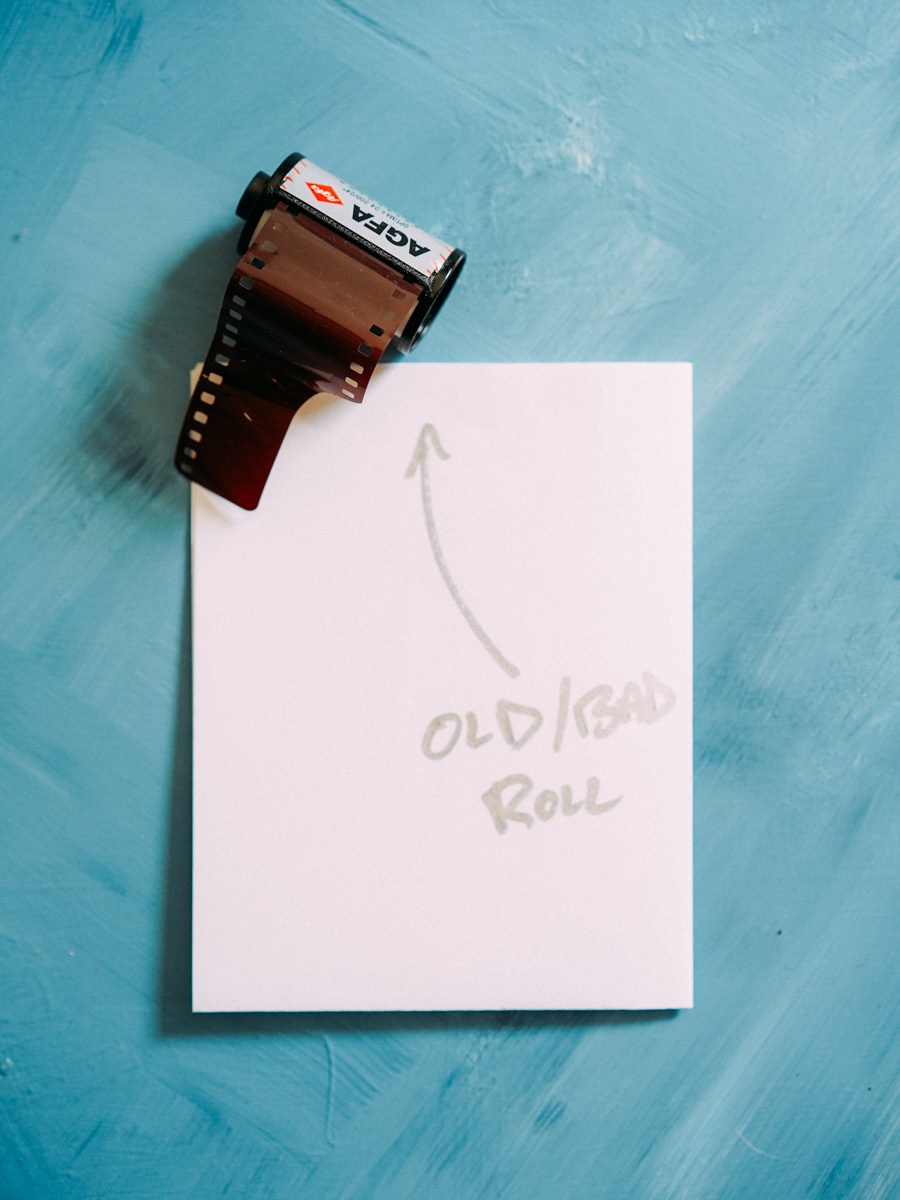
Wet about 2 inches of the exposed, bad roll, lead heavily with saliva or water. I find saliva works best as it is a bit stickier. Next you want to insert that lead as far into, at least 2 inches, into the felt opening of the canister with the retracted lead. There will be a lot of resistance. Be gentle and keep your fingers close to the felt opening as to not bend the lead you are trying to insert.
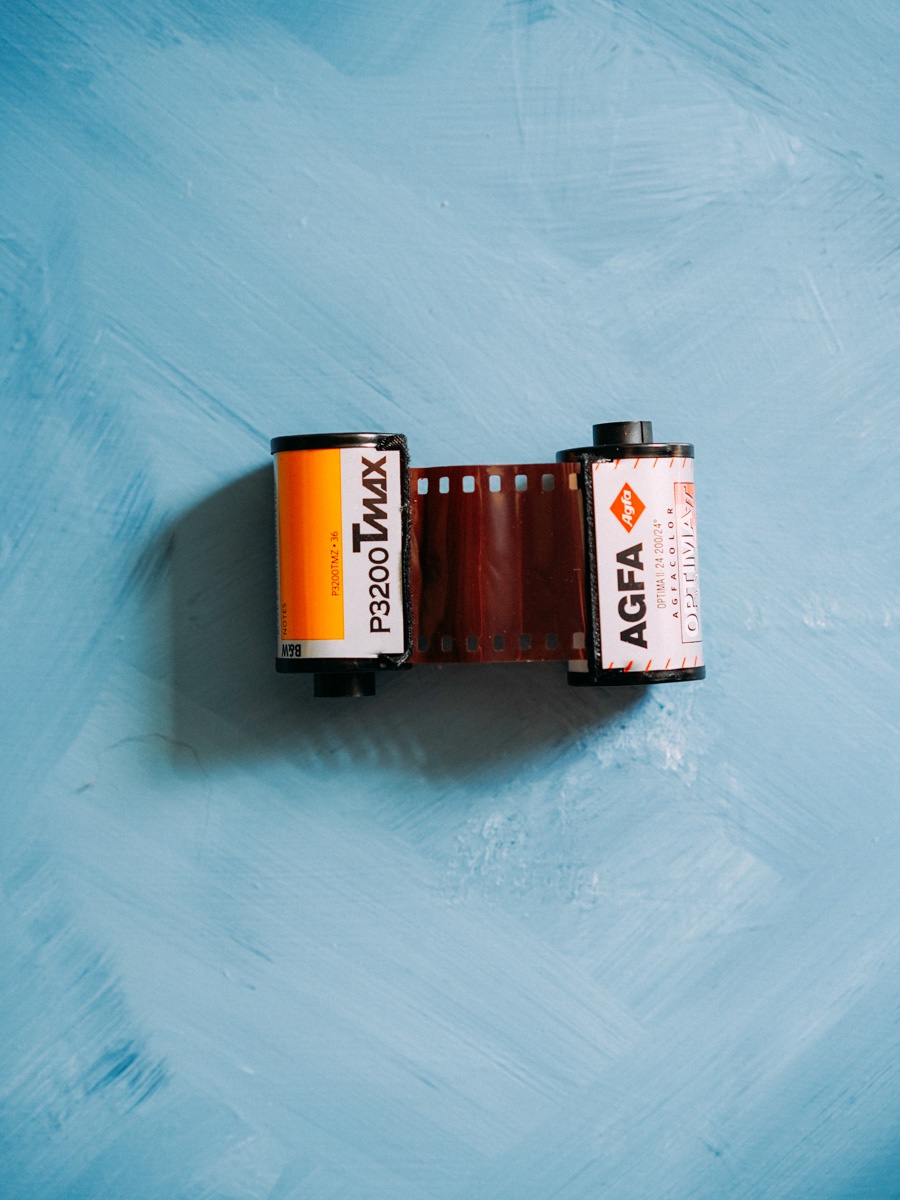
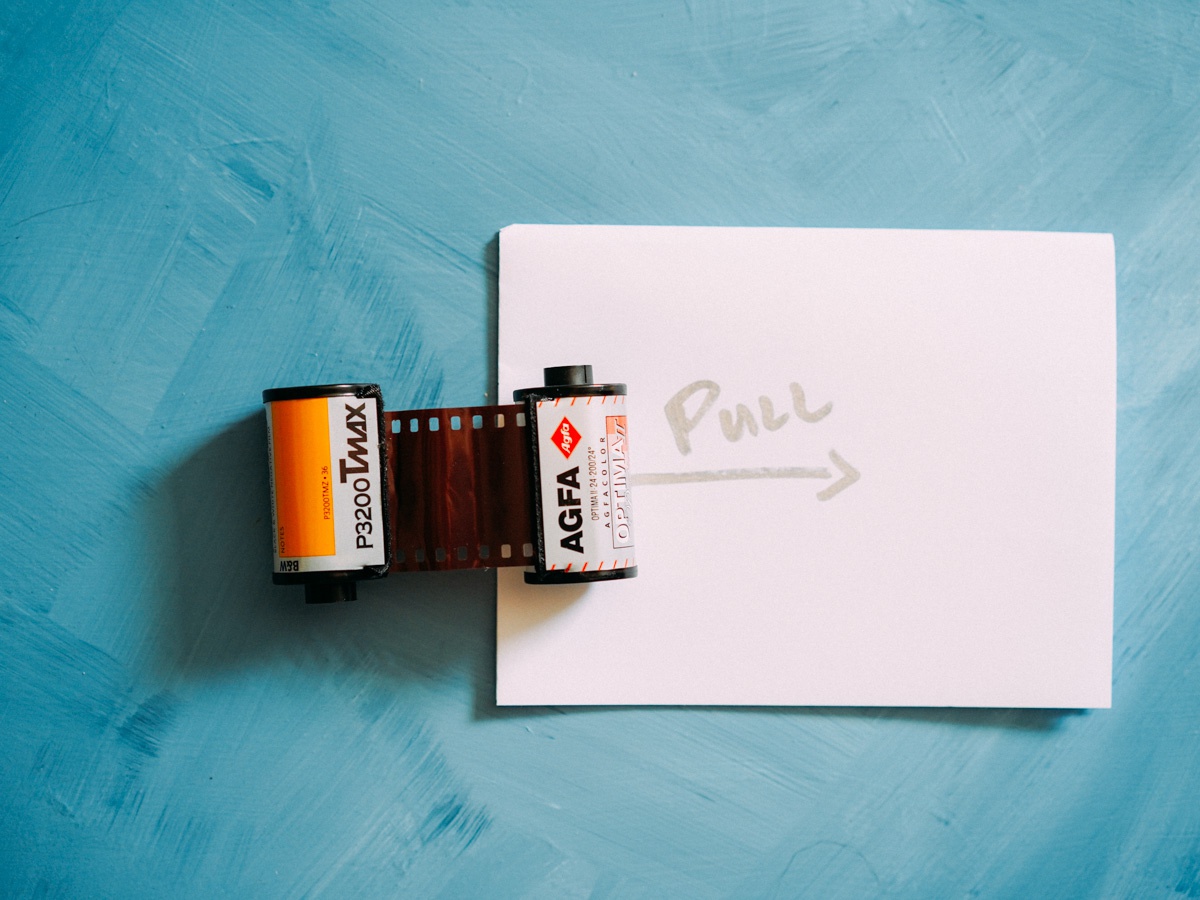
Once you feel it is inserted sufficiently, get ready to pull. Pick up both canisters, one in each hand. Holding the lead of the bad roll, pull on it swiftly away from the good canister. If all works well, the lead will pull out with the lead from the bad canister. Sometimes the lead from the good canister folds over on itself and may get stuck in the felt opening. Just gently use your teeth to grip it and pull it out, being careful not to tear the film. Then unfold the film lead.
2. What does a misaligned 35mm double exposure roll look like?
Don't worry if you can't perfectly align your sharpie mark the second go around. The process will still work. You will just end up with a small black bar, where the scanned negative area was only exposed once because the first and second go-around frames didn't perfectly overlap.

3. What does a perfectly aligned 35mm film double exposure roll look like?
If you were able to align the image perfectly, you'll get even overlap of both the primary and secondary images and you won't have the black bar across your negatives or scans.
4. Tips for scanning twice exposed 35mm film roll of double exposures
Tell your film lab that it is a double exposed roll. When I send mine off, I mention to the lab that my primary subject was a portrait subject and I want them to use their best judgement in aligning the scan so that the subject takes up most of the frame. This isn't an issue if the frames overlap perfectly as in example 3, but if they dont as in example 2, then the lab will have to use judgement on what to scan for.
~~ ~~
If you are inspired by what you read, I'd love to invite you to reach out about the photography services I offer. My guarantee is that you won't find a photographer that cares more about you and your story than I. I'm endlessly passionate about telling stories on film and pushing the boundaries of art in wedding and portrait photography. I'd be thrilled to work for you and document your story, wedding or business in Charleston South Carolina or any destination abroad.
If you'd like more info about this post, would just like to chat, or are ready to book, reach out to me by visiting my contact page here!
Contact Brian D Smith Photography
I hope this helps! Happy shooting.
